Last updated November 17, 2026
Free written scope consultation - allowances, timeline, and change-order rules on paper before a single trade is scheduled
DIY vs Professional Driveway & Pavers: What’s Safe to Do Yourself
Renting a plate compactor for a weekend runs about $180 in Orange County. Reaching the 95% Proctor density that keeps a driveway base from settling takes a specific lift thickness, a specific number of passes, and the right moisture content – none of which the rental counter hands you with the key. That gap between renting the tool and knowing the spec is where most DIY paver jobs in Garden Grove go wrong. This guide separates the paver work a careful homeowner can genuinely handle from the base and drainage work where a small mistake costs more to fix than a pro install would have cost to begin with.
Quick Answer
Cleaning, sealing, joint sand replenishment, and swapping one cracked paver are all safe DIY tasks a confident homeowner can do with rented or modest tools. Excavation, base compaction, drainage grading, and bedding sand screeding are not – those steps carry structural consequences, and the compaction standard that prevents settlement can’t be verified without a nuclear density gauge or a sand cone test. If the base is already sound and you’re maintaining it, DIY is worth it. If you’re installing from raw ground, hire it out.
Styles & brands we work with
- Kitchen remodeling
- Bathroom remodeling
- Home additions & ADU
- Roofing
- Windows & doors
- Driveway & pavers
- Fence
Table of Contents
- Task-by-Task Breakdown: Tool Cost, Skill Floor, Consequence of Error
- The 95% Proctor Standard, Explained in Plain Terms
- Drainage and Grading: The 1/8-Inch Error That Erodes a Base
- What You Can Legitimately DIY After a Professional Install
- Real Cost Comparison: DIY Materials vs. Contractor-Installed
- The Hidden Costs Most DIY Calculators Leave Out
- Why Garden Grove Soil and Rain Make This Harder
Task-by-Task Breakdown: Tool Cost, Skill Floor, Consequence of Error
Not every step in a paver driveway carries the same risk. Some of them are forgiving. The base work is not. Here’s an honest split of what each stage asks of you and what happens when it goes wrong.
- Excavation. Tool cost: shovel and wheelbarrow, or about $250-$400/day for a mini-excavator rental. Skill floor: moderate. Consequence of a bad job: an uneven subgrade that no amount of compaction will fully correct. In Garden Grove, excavation also means discovering what’s under the surface – old concrete slabs, tree roots from the ficus and liquidambar that line many 1960s-era lots, or buried irrigation lines.
- Base compaction. Tool cost: $70-$120/day for a plate compactor, or $150-$250/day for a jumping jack. Skill floor: high – this is where the knowledge gap bites. Consequence: settlement and rutting within two to three years.
- Bedding sand screeding. Tool cost: $40-$100 for screed rails and a straight edge. Skill floor: high. Consequence: uneven paver surface, rocking pavers, and lippage at the joints.
- Paver laying. Tool cost: $150-$300 for a wet saw and hand tools. Skill floor: moderate. Consequence: cosmetic misalignment and inconsistent joint widths – fixable, but tedious.
- Edge restraint. Tool cost: $50-$80 for spikes and a hammer drill. Skill floor: low. Consequence: pavers migrating outward over a season or two – a genuinely fixable problem if caught early.
- Joint sand. Tool cost: $30 for a bag of polymeric sand and a push broom. Skill floor: low. Consequence: weeds, ants, and pavers shifting laterally. Very fixable.
- Sealing. Tool cost: $40-$80 for a roller or sprayer. Skill floor: low. Consequence: patchy finish, which is cosmetic. Fully reversible with a stripper.
The pattern is obvious once you lay it out. The tasks that cost the most to do are also the ones with the highest skill floor and the most expensive tool requirements. The tasks that are easy to learn are the ones that only need maintenance.
The 95% Proctor Standard, Explained in Plain Terms
Proctor density is a lab test that measures how much a specific soil can be compacted under controlled moisture and effort. When a spec says a base must reach “95% Proctor,” it means the compacted material must achieve 95% of the maximum dry density that the lab measured for that material. Fewer than that, and the base will continue to settle under load.
Here’s the problem for a DIY-er: you cannot verify the number yourself. Confirming density on site requires either a nuclear density gauge (a $15,000-$30,000 instrument, generally operated by a certified technician) or a sand cone test, which is a field measurement that also requires certified labor. Neither is a tool you rent at the counter.
What a compactor rental receipt does not tell you:
- How many passes. Class II base rock typically needs four to six passes with a plate compactor, or a specified number with a jumping jack, at each lift. Two quick passes and the top looks tight, but the interior is still loose.
- Lift thickness. Compaction must be done in lifts of 4 to 6 inches, not poured all at once. Twelve inches of loose base rock compacted in one pass ends up dense at the top and loose at the bottom – exactly the layer that fails first.
- Moisture content. Base rock compacts best at or near optimum moisture, which for most Class II material is somewhere around 8-12%. Too dry, and the material powders and won’t bind. Too wet, and it pumps. You cannot eyeball this; the field test involves a squeeze test at best, and the honest answer is that the proper number comes from the same lab that ran the Proctor in the first place.
We regularly see this fail in Garden Grove on driveways laid over bare dirt with a rented plate compactor and no lift discipline. Two rainy seasons later the pavers have shifted, the joints are opening, and the section of driveway under the family car has visible depressions. Fixing it means pulling the pavers up and redoing the base – which is more expensive than a proper install would have been.
Drainage and Grading: The 1/8-Inch Error That Erodes a Base
Driveway pavers need to shed water. The standard for most residential surfaces is a slope of about 1/8 inch per foot away from the structure – that’s a 1% grade, and over a 20-foot driveway it amounts to 2.5 inches of fall. If a driveway runs to a street rather than a curb, the same slope has to work with the street level. If it runs to a drain, the slope has to work toward the drain.
The problem is that 1/8 inch per foot is functionally invisible during construction. A screed rail set 1/16 inch off, or a paver bed tamped 3/16 inch heavier at one corner, produces a surface that looks fine in dry weather and pools water after the first real rain. Puddling water does two things to a paver driveway: it saturates the bedding sand and joint sand from above, and it drives water into the base from any weak spot at the surface. In Garden Grove, where the rainy season runs roughly November through March and delivers the bulk of the annual precipitation, two seasons of standing water is enough to erode base material under a low spot.
What the erosion does not look like:
- The pavers themselves don’t crumble. They settle – a subtle dip forms that grows by fractions of an inch per year.
- The joint sand washes out from the low side. That’s the first sign, and it’s easy to miss until the puddles are obvious.
- By the time the settlement is visible, the base under that section is compromised. The pavers need to be lifted and the base rebuilt under the affected area.
This is where an experienced crew earns its money. The grading has to be set correctly before a single paver goes down, and the compaction has to be verified to hold it. On a driveway installation in Garden Grove, we set the base to grade with a string line and check the surface slope with a laser level at every few feet – not once at the end.
What You Can Legitimately DIY After a Professional Install
Once the driveway is in and sound, the maintenance work becomes genuinely yours to do. These are the tasks where a fine job costs a little time and a bad job costs a little money – not structural consequences.
- Cleaning. A stiff broom, a pressure washer on low pressure, and a paver-safe cleaner. Do this annually, typically in early fall before the rainy season. Avoid high-pressure nozzle tips close to the surface, which can strip the joint sand.
- Sealing. A water-based penetrating sealer like Techniseal WB+ (or equivalent) applied with a roller or low-pressure sprayer every two to four years. Prep is the whole job: the pavers must be clean and dry, and the weather must be compatible for 24 hours. Do not seal in direct afternoon sun or when rain is forecast – in Garden Grove that means a dry morning in late spring or early fall, not a summer afternoon.
- Joint sand top-up. Polymeric joint sand, swept in and misted to activate, once a year or after a heavy winter. This is one of the highest-return maintenance tasks on a paver driveway; skipping it is why weeds and ants move in.
- Single paver replacement. If a paver is cracked or stained, a single swap is a fair DIY task. Pry the paver up with a pair of flat pry bars (not a screwdriver – the leverage is wrong), clean the bedding sand under it, reset it level with the surrounding course, and backfill the joints with matching polymeric sand. The only real risk is matching the material. If the original install used Belgard or Techo-Bloc, call the supplier with a photo; both brands have had product changes over the years, so batch and color matching matter.
What you should not DIY after the install: re-screeding a settled section, re-working the base under a low spot, or pulling a large section to “see what’s happening.” Once you’re into the base, you’re back on the tightrope with the compaction spec.
Real Cost Comparison: DIY Materials vs. Contractor-Installed
Cost comparisons between DIY and professional are usually dishonest because they compare material cost to a full turnkey price. Here’s a fairer split for a typical Garden Grove driveway of around 400 square feet – a two-car width and modest depth. Prices reflect the Orange County market in 2025.
- DIY materials only: roughly $7-$11 per square foot. That includes pavers ($3-$6/sf depending on brand and import vs. domestic), Class II base rock ($1.20-$1.80/sf at 4-6 inches), bedding sand ($0.40-$0.60/sf), edge restraint ($0.50-$1.00/sf), polymeric joint sand ($0.40-$0.60/sf), and a sealer coat ($0.50-$0.80/sf). On 400 square feet that’s roughly $2,800-$4,400.
- Tools and equipment: $400-$800 in one-time purchases if you don’t already own a wet saw, plate compactor access, pry bars, laser level, and hand tools. Renting the compactor and wet saw runs $200-$300 for a weekend.
- Disposal. Excavated soil and old concrete have to go somewhere. In Orange County a 20-yard roll-off runs $450-$700 delivered and picked up, and that’s the line item most DIY calculators skip entirely.
- Contractor-installed: $14-$22 per square foot for a full paver driveway with base, drainage work, edge restraints, joint sand, and cleanup. On 400 square feet that’s roughly $5,600-$8,800.
The DIY savings look significant on paper – somewhere between $1,500 and $3,500 on this size job – and for a homeowner with strong backs and time, that gap is real. But the gap closes fast if the base has to be rebuilt, or if a section settles and needs to be pulled back up.
The Hidden Costs Most DIY Calculators Leave Out
Search “DIY paver driveway cost” and you will find calculators that price out the pavers and call it a day. The missing line items are usually where the budget actually goes wrong.
- Base rock and compaction. Most calculators quote sand and pavers. Class II base rock at 4-6 inches deep is a real cost – roughly $1.20-$1.80 per square foot – and it is the layer that decides whether the driveway lasts ten years or twenty-five.
- Disposal. Excavated soil is heavy. It’s about 1.2 tons per cubic yard. A 400-square-foot driveway at 8 inches deep is roughly 10 cubic yards of spoil, or about 12 tons. Hauling that to a landfill in Orange County, plus the roll-off, runs $500-$800.
- The plate compactor rental. At $70-$120 per day, and needing two or three days of work at different stages, it adds up fast. So does the learning curve on it – a homeowner who has never operated a plate compactor needs an hour to figure out the rhythm, and the first hour is the one where the base looks fine but isn’t.
- Replacement pavers. On a DIY install, it’s common to end up short or to break a few during cutting. Matching a second order of pavers from a different batch is where the project stalls – a common problem with imported material where dye lots vary. It’s worth ordering 5-10% extra, and disposing of the leftover is another cost.
- Your own time. A 400-square-foot driveway, done properly, is a 5-8 day job for a skilled two-person crew. For an unskilled DIY-er working weekends, it’s three to four weekends. That time has to be worth something to you for the math to work.
None of this is an argument against DIY. It’s an argument against dishonest budgets. A homeowner who plans for the disposal and the compactor and the extra pavers is making an honest decision.
Why Garden Grove Soil and Rain Make This Harder
Garden Grove sits on a mix of sandy loam and clay-heavy soils, often with a high water table in low-lying pockets near the East Garden Grove-Wintersburg Channel and the many neighborhoods that were built out in the 1950s and 1960s. That soil profile matters for a driveway in three specific ways.
- Clay soils need more careful moisture control. A clay-heavy subgrade holds water and can become plastic during compaction – the roller or plate pushes it around instead of compacting it. That’s the point where an experienced crew stops, dries the base material or amends it, and starts again. A homeowner without the frame of reference keeps going and ends up with a soft base.
- Sandy pockets near the channels drain fast but don’t hold compaction. Where the soil is more sand than clay, base material can sink into the native soil over time, and the fix is a geotextile separation fabric under the base. It’s an inexpensive material (about $0.30-$0.50 per square foot) that most DIY installs skip because it’s not on the standard materials list.
- Older lots have surprises. Garden Grove homes built in the 1950s and 1960s frequently have old concrete slabs, clay sewer lines, or leftover stumps under what’s now a driveway area. Excavating into that by hand, with a shovel, is a day’s work whatever you find. Excavating into it with a rented mini-excavator, without knowing how to read the ground, is where water lines get cut.
We’ve also seen drainage work in Garden Grove fail inspection when a driveway close to the property line redirected water onto a neighbor’s lot without an approved drainage plan. Orange County and the City of Garden Grove both care about this, and it’s a fix that means re-grading the driveway after it’s already built.
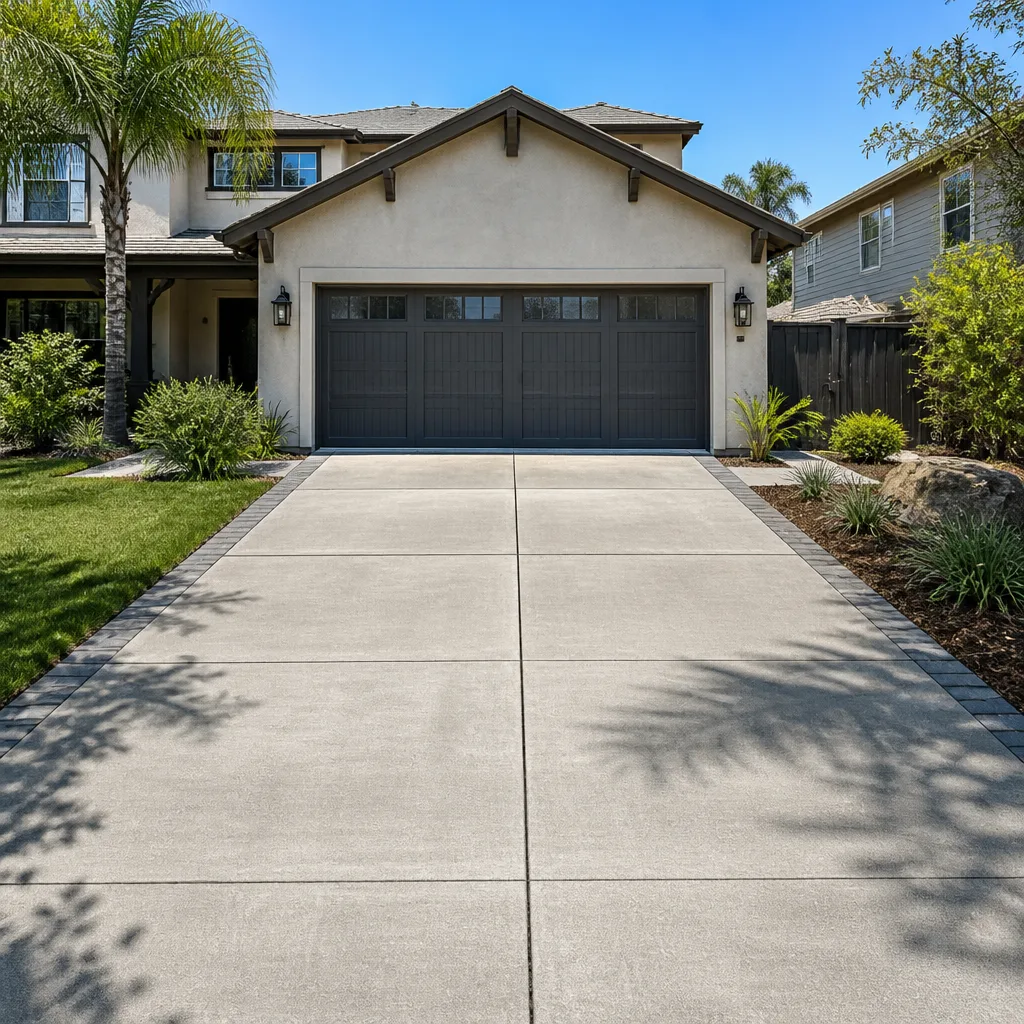
For a broader look at how we handle the full driveway scope – base, drainage, pavers, edge restraints, cleanup – the Driveway & Pavers in Garden Grove page lays it out line by line. And for homeowners thinking about tying the driveway into a larger front-of-house plan, our pages on Fence Installation in Garden Grove and Home Additions & ADU in Garden Grove show how the sequencing usually works.
Common Mistakes to Avoid
- Compacting the base in one lift. Pouring eight to twelve inches of base and compacting it once leaves the bottom loose. Compact in 4-6 inch lifts, with a plate pass count that matches the material – four to six passes per lift for Class II base.
- Skipping the geotextile fabric. On Garden Grove’s sandy pockets, base material migrates down into the native soil without a separation fabric. It’s a $0.30-$0.50 per square foot material that saves base rebuilds.
- Screeding bedding sand without rails or a laser. Freehand screeding looks fine in dry weather and shows every irregularity after the first rain. Use screed rails and check with a laser or a long straight edge at multiple points.
- Sealing too early or in the wrong weather. A new paver install needs to dry out before sealing – typically 30 to 60 days – and sealing in direct summer sun or ahead of rain in the rainy season leaves blotchy patches or traps moisture. Read the sealer’s specs; they aren’t suggestions.
- Top-dressing joint sand with the wrong material. Play sand looks right for a week and washes out with the first rain. Use polymeric joint sand, not play sand, and use the correct application method for the brand.
- Digging into a Garden Grove 1960s lot without calling 811. Buried utility lines, irrigation, and sometimes old gas stubs are common in the older neighborhoods. Call 811 two to three business days before digging, every time.
- Disposing of spoil in a neighbor’s dumpster. Excavated soil is heavy, and it’s tracked – getting caught side-dumping in Orange County is a fine, not a warning.
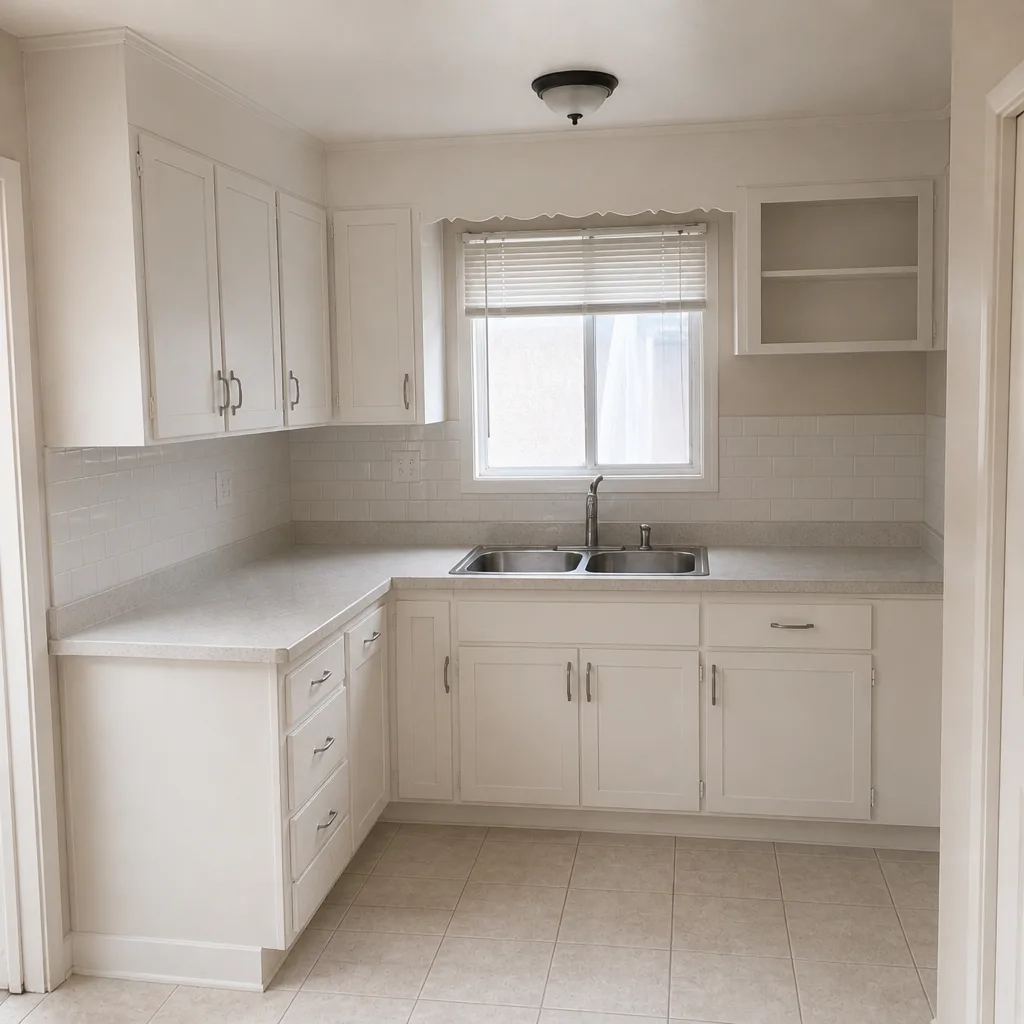
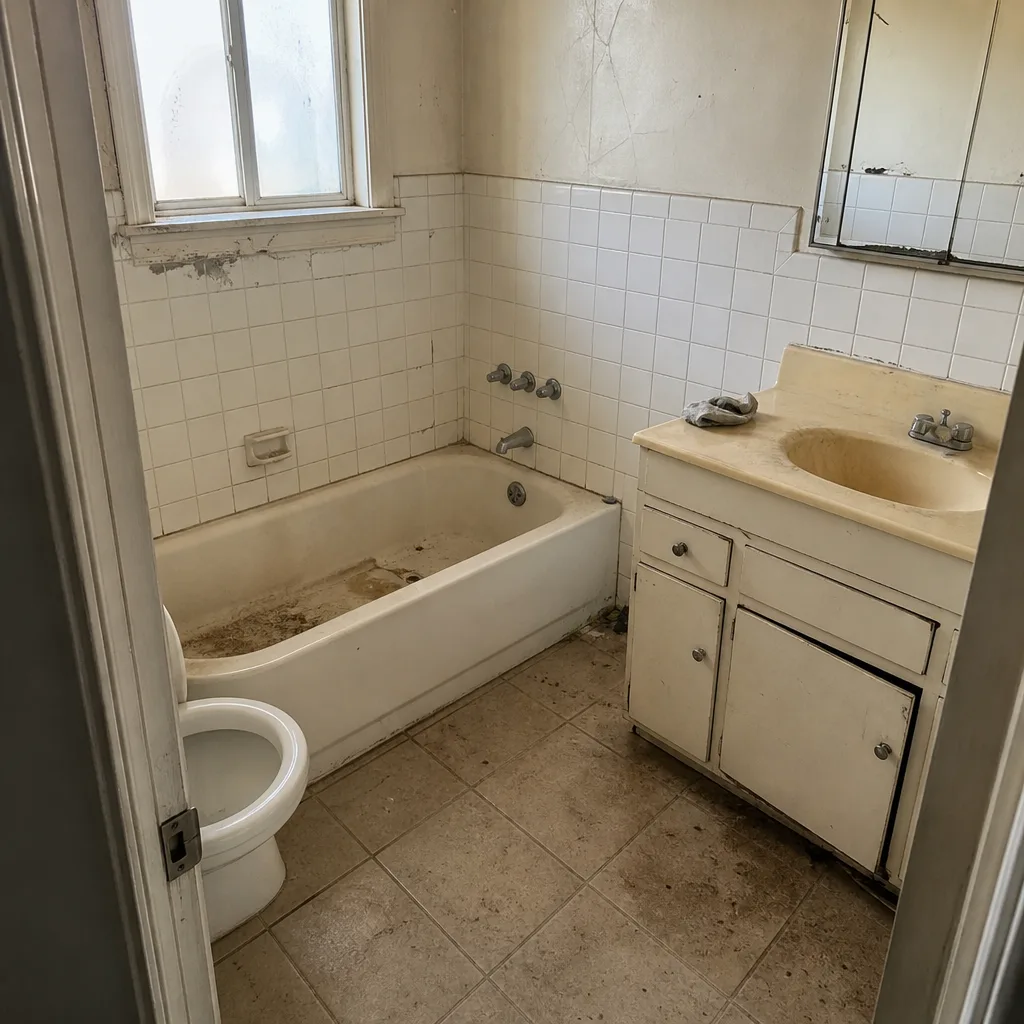
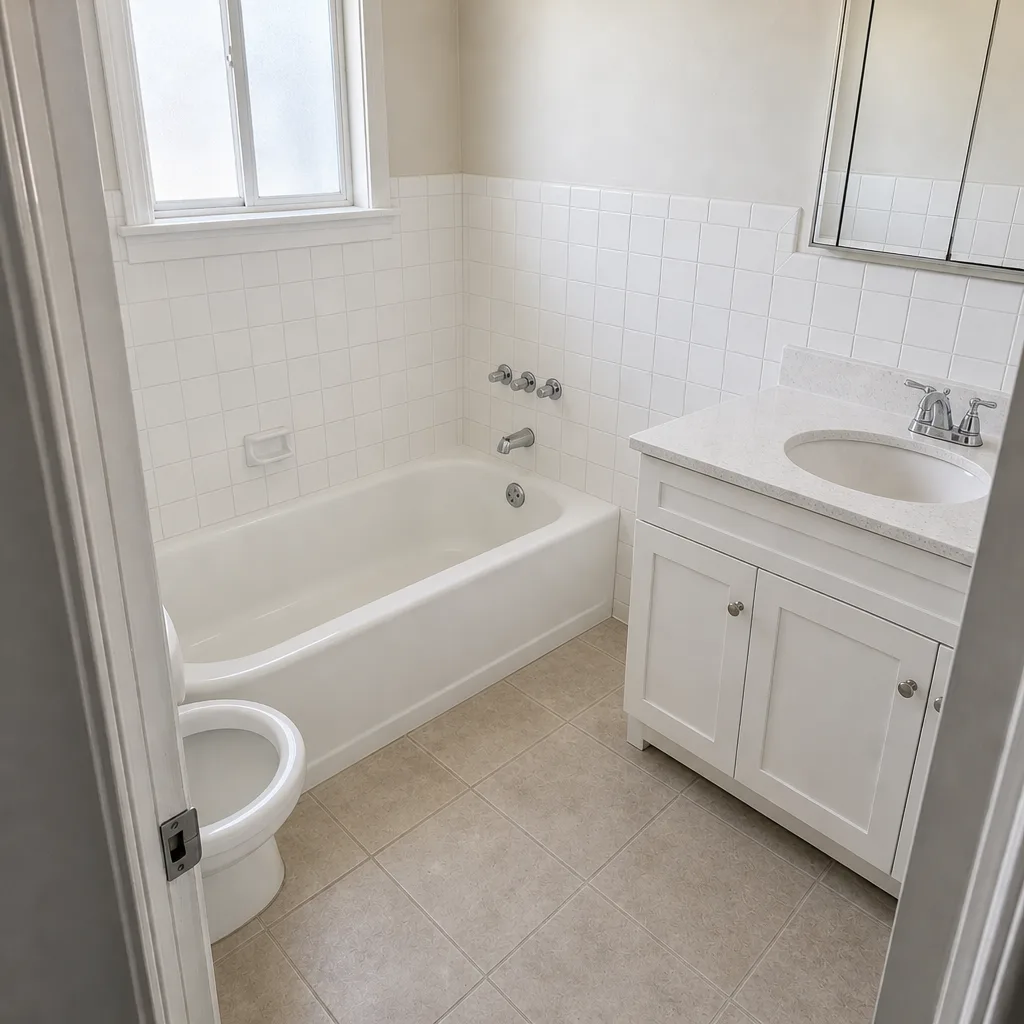
See the difference
 Before
 After
 Before
 After
 Before
 After
When to Call a Professional
Call a professional when the work involves any of the following: excavation into unknown ground on an older Garden Grove lot; base compaction where settlement would compromise the driveway; drainage grading near the property line or toward a drain; a full install rather than a repair. Those are the cases where the cost of a mistake exceeds the DIY savings by a wide margin.
Rowan Construction Group Garden Grove offers free estimates in Garden Grove – call (888) 303-8980 for a written, itemized price before any work starts, including the base and disposal line items the DIY calculators leave out. Every quote includes a written scope, a written warranty, and the flat price locked in – no change order signoff, no work. If you already have a quote from another contractor, we’ll review it line by line at no charge as a free second opinion, so you can compare what’s actually in the scope. If you want to see how we handle the other trades tied to your driveway project, our Rowan Construction Group Garden Grove home page covers the seven trades we quote.
Frequently Asked Questions
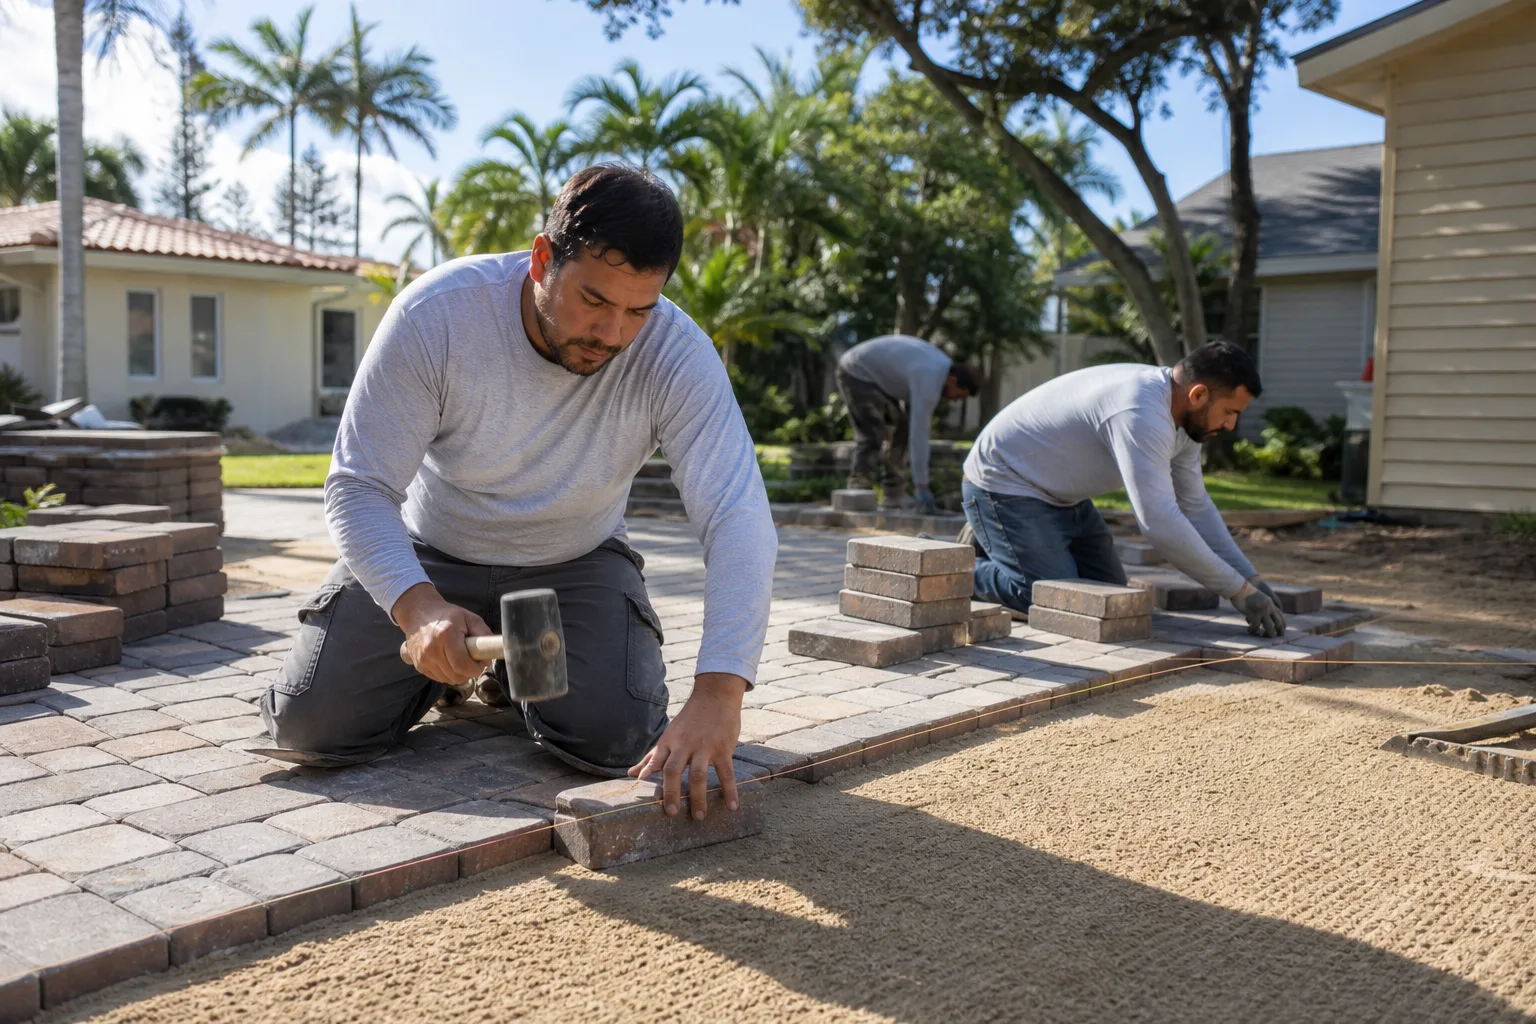
Yes, technically – but the base and drainage work is where DIY installs fail. A confident homeowner can handle cutting, laying, edging, and joint sand, but excavation, compaction, and grading need either certified equipment and knowledge or a professional crew. The compaction standard (95% Proctor density) can’t be verified without a nuclear density gauge, so an install that looks fine on day one can settle within a season.
Expect $14-$22 per square foot for a full paver driveway in Garden Grove, including base rock, drainage grading, edge restraints, polymeric joint sand, and disposal. On a 400-square-foot driveway that’s roughly $5,600-$8,800. Call (888) 303-8980 for a written line-item quote – free estimates, no pressure to book.
The cheapest fix is topping up the joint sand and re-leveling individual pavers – usually $200-$500 if the settlement is shallow and the base underneath is intact. If the base has failed, the pavers in the affected area have to be lifted and the base rebuilt, which runs $2,000-$5,000 for a typical section. Call (888) 303-8980 for an on-site look before deciding which it is.
Every two to four years for a water-based penetrating sealer, typically in dry spring or early fall weather. In Garden Grove, avoid sealing in the rainy season (November through March) and avoid sealing in direct afternoon summer sun, both of which can trap moisture and produce a blotchy finish.
Depends on the scope. A simple re-lay or repair generally doesn’t require a permit, but a new driveway that changes drainage flow or extends into the public right-of-way typically does under City of Garden Grove and Orange County rules. We’ll walk through whether your project needs a permit before quoting – and if it does, we handle the pull and the inspection.
Yes, and it’s a fair DIY task. Pry the paver up with flat pry bars, clean the bedding sand under it, reset it level with the surrounding course, and backfill the joints with matching polymeric sand. The only real risk is material matching – call the supplier with a photo of the paver and any backup material you saved, since dye lots can vary between batches, especially with import pavers.
The Bottom Line
The line between DIY and professional on a paver driveway is drawn by consequences, not effort. Cleaning, sealing, joint sand replenishment, and single paver swaps are honest DIY work that saves real money and asks only for a bit of planning. Excavation, compaction, and drainage grading are the layers where mistakes become structural – and where the numbers simply are not as forgiving as the DIY calculators promise. For a homeowner in Garden Grove, the sensible approach is: maintain what’s already sound yourself, and bring in a professional for anything that touches the base. If the scope is a new installation or a failing section, a free estimate puts the number in writing so you can compare it against the DIY path honestly.
Call (888) 303-8980 to schedule your free estimate. You’ll get a written scope, a flat price, and a documented record of every visit – so the number you agree to on day one is the number you pay when the crew leaves.
Written by the team at Rowan Construction Group Garden Grove.