Last updated November 17, 2026


Free written scope consultation - allowances, timeline, and change-order rules on paper before a single trade is scheduled
Fence Installation Troubleshooting: Common Problems and How to Fix Them
A fence post that leans after one winter almost always has a footing shallower than 24 inches or a footing diameter under 10 inches – two measurements that are invisible after the concrete cures and that rarely appear on a residential installation invoice. That’s the frustrating part about fence problems: the symptom shows up 12 to 36 months after the crew leaves, and by then the installation shortcut that caused it is buried under sod and concrete. This guide works backwards from symptom to root cause, so you can tell a leaning post from a failing footing, warped boards from bad attachment, and a sagging gate from a brace running the wrong direction. We’ll walk through it here in Garden Grove and everywhere else the soil and salt air do the same things to fences.
Quick Answer
Most fence failures are installation errors, not material failures, and the fix depends on diagnosing which shortcut caused the symptom. A leaning post usually means an undersized footing; warped or cupped boards usually mean poor moisture control or boards driven tight without a gap; a sagging gate usually means a brace running the wrong diagonal; and rust bleed at fasteners usually means galvanized screws in salt air instead of stainless or a hidden fastener system. Get the cause right and you’re often looking at a $400 targeted repair instead of replacing a whole section.
Styles & brands we work with
- Kitchen remodeling
- Bathroom remodeling
- Home additions & ADU
- Roofing
- Windows & doors
- Driveway & pavers
- Fence
Table of Contents
- Why Is My Fence Post Leaning?
- Why Are My Wood Fence Boards Warping and Cupping?
- Why Does My Gate Sag, and Why Do Third Hinges Only Delay It?
- Why Are My Fasteners Rusting and Bleeding?
- What Do I Need Before Repairing a Fence on a Property Line?
- Which Fence Material Holds Up Best?
- When Should You Repair vs. Replace a Fence Section?
Why Is My Fence Post Leaning?
A leaning fence post in Garden Grove almost always traces back to a footing that was set too shallow or poured too narrow – not to the wood itself. A properly built post footing is at least 24 inches deep and 10 inches in diameter, and it sits below the local frost line (a non-issue here, but code still sets a minimum). When a crew digs an 18-inch hole to save an hour, the post holds fine for a season, then the first wet winter and the clay-heavy soil around Garden Grove let it start to move.
You can check footing depth without digging it up. Here’s the non-destructive method we use:
- Wait for dry weather and push a stiff probe rod (a length of rebar works) into the soil about 6 inches from the post base.
- Push straight down at a steady pressure. You’ll feel the resistance change where the concrete meets soil.
- Mark the rod at ground level. Measure how much of the rod sits above the concrete. Less than 24 inches means the footing is undersized.
- Check the footing diameter by probing outward from the post at 45-degree angles. If you can reach soil before 10 inches of concrete, the pour is too narrow.
Two repairs are available. A “sister post” splices a new post alongside the old one, driven deeper and tied with structural hardware – fast, cheap, and usually fine for a single post. A full re-pour pulls the post, digs a proper 24-by-10 footing, and resets it. When more than a quarter of your posts are leaning, sister-posting them all is a false economy; a section replacement done right is the straighter path. For a full look at how we build footings correctly from the start, see our Fence Installation in Garden Grove page.
Why Are My Wood Fence Boards Warping and Cupping?
Warping and cupping has two different causes, and they call for two different fixes. Getting them confused wastes money. The first cause is moisture cycling: untreated or poorly sealed wood absorbs water on one face, dries unevenly, and curls toward the dry side. In coastal Orange County air, where fog rolls in on summer mornings and dries by afternoon, that cycle happens again and again. The boards can’t stay flat when one face is wetter than the other.
The second cause is attachment error, and it’s more common than homeowners expect. Boards driven tight – touching edge to edge with no expansion gap – have nowhere to go when they swell. They cup, buckle, and crack. Boards nailed with two fasteners toward the middle of a board rather than the edges also cup as they age.
Here’s how to tell them apart:
- Cupping toward one face in every board on the run points to moisture cycling. Check the finish and the wood treatment.
- Cupping most on the boards facing the sun or the street points to sun exposure and finish failure.
- Boards tight against their neighbors, or buckling at the center points to attachment without a gap and a need for a re-hang, not just a new finish.
The fix for moisture cycling is a penetrating stain rather than a film finish (film coatings trap moisture and crack), plus a check of whether the wood was properly kiln-dried before install. The fix for attachment error is re-hanging the boards with a 1/4-inch gap and two fasteners per rail at the board edges. If your boards are already cupped beyond flat, replacement is the only real fix – a cupped board won’t flatten back.
Why Does My Gate Sag, and Why Do Third Hinges Only Delay It?
A gate sags when its diagonal brace runs the wrong direction relative to the hinges. That single detail accounts for more gate failures than weight does. When a gate has its brace running from the hinge side at the bottom up to the latch side at the top, the gate is braced against gravity and stays square. When the brace runs the opposite direction, the gate’s own weight pulls it out of square and it sags at the latch side.
The instinct is to add a third hinge. It helps, but only for a while – without a tension rod or cable running diagonally opposite the sag direction, the third hinge just delays the failure and masks it. The sag will return, usually faster after the second fix, because the wood has begun to deform.
This is the diagnostic sequence for a sagging gate in Garden Grove:
- Open the gate and sight along its top rail. A straight line is a hinge or brace problem; a bowed line is an overloaded frame.
- Measure the gap between the latch side and the post, top versus bottom. If the top gap is wider than the bottom, the brace direction is likely wrong.
- Check the hinges – if any is wobbly, that hinge is loose at the frame, which mimics a sag.
- If the brace is wrong, install a turnbuckle tension rod diagonally opposite the existing brace, or replace the brace. An added third hinge on its own doesn’t fix a reversed brace.
Gates wider than 4 feet on a wood frame often need a steel frame or a tension rod as standard from day one. If sag keeps coming back, the frame is the conversation.
Why Are My Fasteners Rusting and Bleeding?
Rust streaks below fasteners on a Garden Grove fence usually mean the installer used galvanized screws on a wood or vinyl fence in a coastal environment. Standard galvanized fasteners can fail within 3 to 5 years in salt air – the coating breaks down and the steel begins to corrode, leaving the brown streaks you see running down the board faces. It’s not the wood. It’s the plating.
The correct specification is one of two things:
- Stainless steel fasteners for any fence within a few miles of the coast. Cheaper over the life of the fence, and no rust bleed.
- Cortex hidden fasteners or similar concealed fastening systems – these sit behind the board face so water runs past them, and they eliminate rust bleed as a visual issue entirely. On composite or PVC fencing, hidden fasteners also avoid the plastic dimpling that screws cause.
If your fence already shows rust bleed, you have two options. If the fasteners are still structurally sound, spot-clean the wood, treat with an oxalic acid wash to neutralize the rust stain, and repaint or restain. If the fastener heads crumble when you test them with a driver bit, they’ve failed and the boards need to be re-fastened with stainless or hidden fasteners. On a full replacement, specify stainless in the written scope. Good installers don’t charge extra for it or will price it in the same line. If you’re comparing quotes, ask for the fastener specification in writing.
What Do I Need Before Repairing a Fence on a Property Line?
Before any repair or replacement on a fence that sits on or near a property line, you need a survey document that establishes the fence’s position – a licensed survey, a survey plat from the title report, or the parcel lines from the county GIS. The GIS data alone is often good enough to identify the parcel line within a foot or so, but for a fence dispute or a replacement that could shift the line, a licensed survey is the only document that will stand up. Garden Grove properties built before 1980 often have less exact survey documentation, so pulling the title-company survey from your purchase file is worth an hour of paperwork.
The practical sequence looks like this:
- Locate your parcel line using the county GIS parcel viewer – a quick first look at which fence is actually yours.
- Pull the survey plat from your title report (usually included in the closing packet).
- If the plat is missing or ambiguous, commission a licensed survey. Cost runs several hundred dollars for a residential lot in the Garden Grove area.
- Talk with the neighbor before work begins – a fence on the line is shared property in most California residential zoning, and a polite written conversation prevents a very expensive dispute.
- Once the line is confirmed, put the repair or replacement scope in writing with the fence location referenced to the confirmed line.
Never start a fence repair on a boundary you haven’t confirmed. It’s the most expensive mistake on this page. If you’re also considering paving or hardscape work near the fence line, our Driveway & Pavers in Garden Grove work often overlaps with this conversation – the same survey comes up.
Which Fence Material Holds Up Best?
For Garden Grove’s climate – mild, coastal-adjacent, with wet winters and dry summers – the material that fails least depends on how much maintenance you’re willing to accept. Wood is affordable and repairs easily, but it moves. Composite and PVC hold up far better against moisture and don’t require staining, but the installation hardware matters more (see the fastener section above). Vinyl is the lowest-maintenance option in a coastal zone, though cheap vinyl gets brittle under UV and cracks at fastener points.
What we specify for most Garden Grove fence projects when the customer asks for durability:
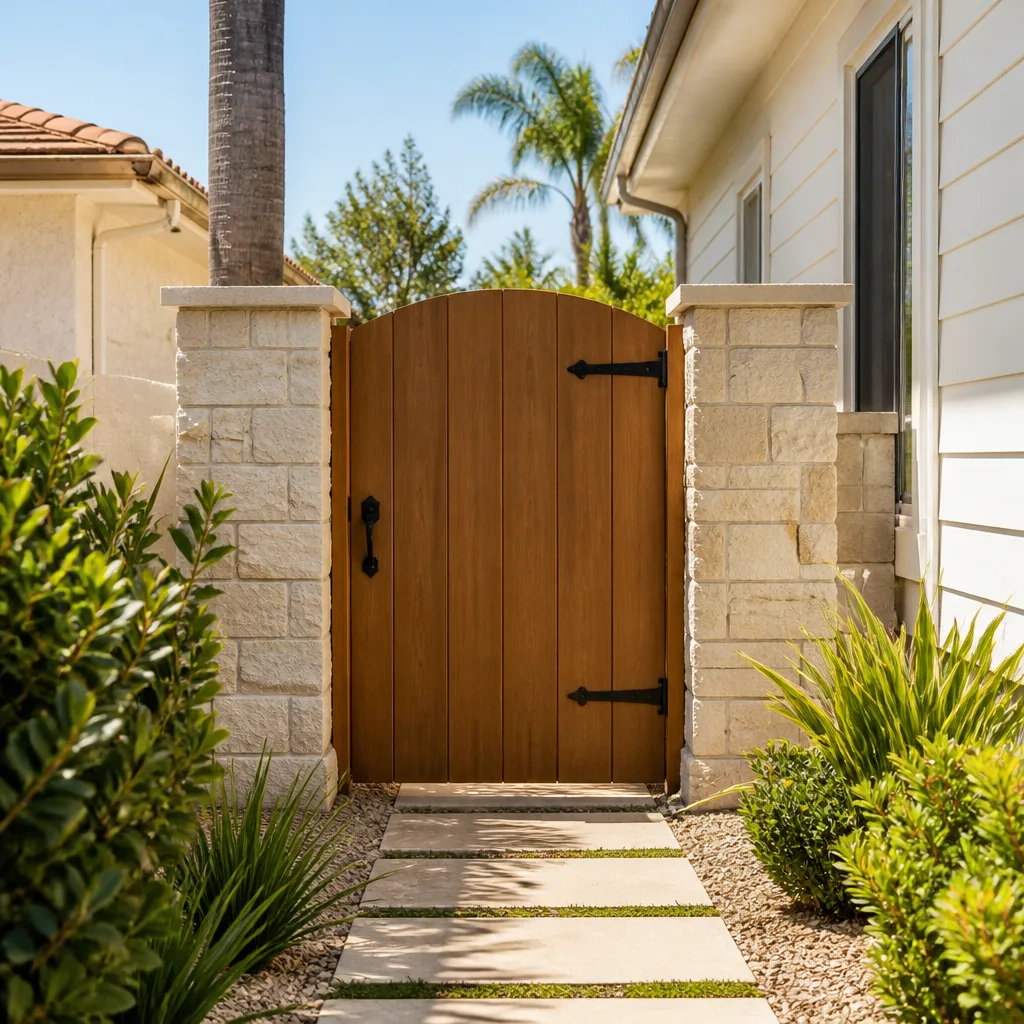
- Western red cedar or clear heart redwood for a wood fence you’ll stain every few years. Premium price, but the material is stable and repairs are easy.
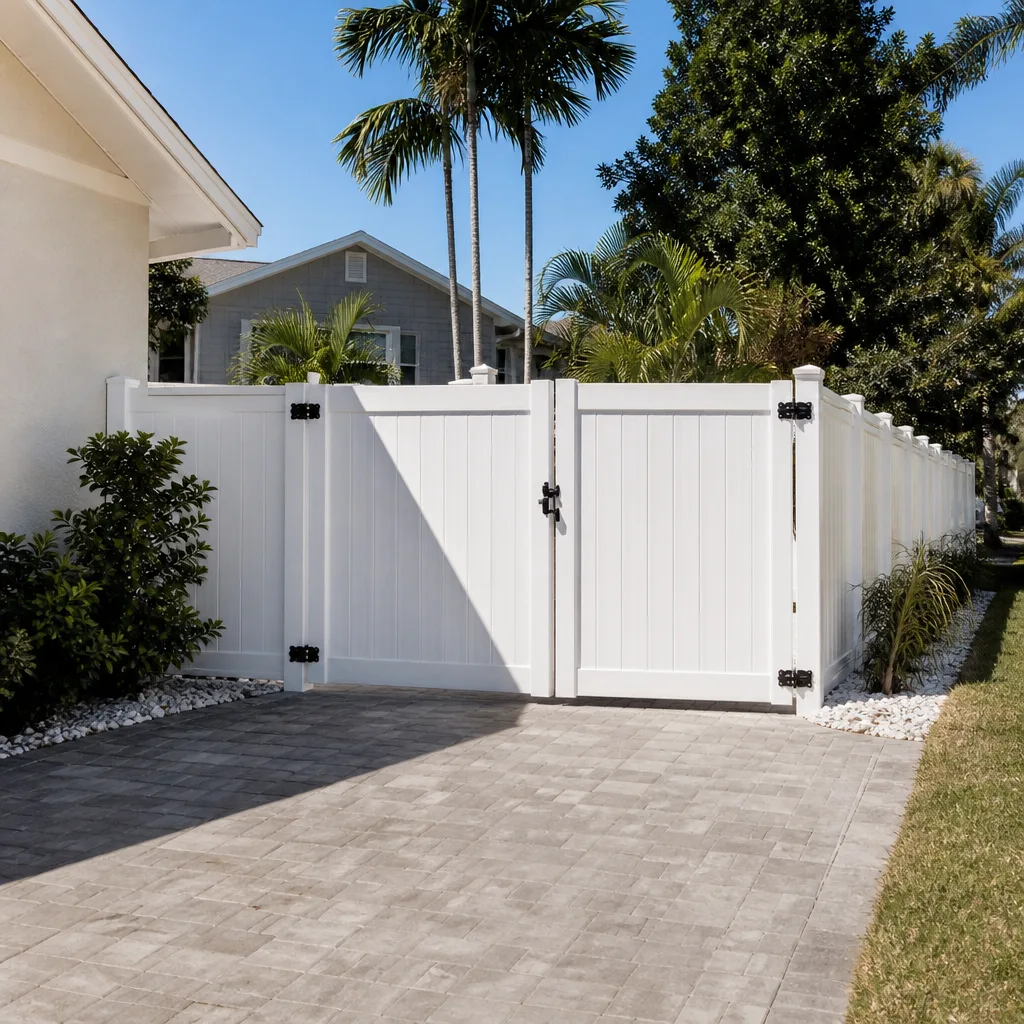
- Vinyl with aluminum reinforcing channels for a low-maintenance run, especially on a side fence that doesn’t need to be climbed.
- Composite pickets over steel posts for gate-adjacent sections, where weight and sag are the main enemies.
- Steel posts and rails with wood pickets in any location where the existing wood posts have failed beneath ground – the footing and post material solve most of the leaning problem.
Whatever you choose, specify the fasteners, the footing depth, the gap between pickets, and the post spacing in the written scope. These four things determine how long any material lasts.
When Should You Repair vs. Replace a Fence Section?
Repair a fence section when the failure is isolated – one leaning post, a sagging gate, a handful of cupped boards. Replace the section when more than a quarter of the posts are leaning, more than a third of the boards have cupped beyond flat, or the fasteners have failed structurally across the run. A targeted repair that fixes the cause is usually a few hundred dollars and adds years. A partial patch over an unknown cause buys 12 to 18 months and fails the same way.
The math is worth spelling out, because “repair vs. replace” is where most homeowners get talked into the wrong decision:
- One leaning post, footing confirmed shallow: sister-post repair, roughly $350 – $600 in the Garden Grove market, depending on post height and access.
- One or two cupped boards, moisture cause: re-hang with gap and a penetrating stain, roughly $150 – $400 for a small section.
- Sagging gate with a reversed brace: turnbuckle rod and brace correction, roughly $200 – $450.
- Fastener failure showing on more than a few boards: re-fastener job (stainless or hidden), priced per linear foot, often $8 – $14 per foot.
- Widespread footings undersized, or more than a quarter of the posts failed: full section replacement, priced per linear foot with the material and footing spec in writing.
Notice that none of these estimates lives in your head before the repair starts – which is exactly how it should be. Rowan Construction Group Garden Grove home delivers a written price before any work starts, on every trade, and the whole point of the written price is that the customer can compare it against the numbers above. If it’s a full section replacement, you’ll also want to understand how the fence ties into the property line before we start (see the property-line section above).
Common Mistakes to Avoid
- Pouring a footing 18 inches deep “because it’s fine.” In Garden Grove’s clay soil, an 18-inch footing holds for a season and then moves. Pay the extra for 24 inches – the visible leaning starts after the warranty period otherwise.
- Adding a third hinge to fix a sagging gate. If the brace is running the wrong direction, a third hinge just delays the failure. Check the brace before you drill.
- Driving boards tight with no expansion gap. Wood needs a 1/4-inch gap or it buckles, cups, and cracks as it swells. This is one of the most common installation errors we correct.
- Using galvanized fasteners near the coast. In Orange County salt air, they can rust through within 3 to 5 years. Specify stainless or hidden fasteners.
- Repairing a fence on an unconfirmed property line. Pull the survey before anyone touches the fence, especially on a lot built before 1980.
- Fixing the visible post but not the footing. A post driven back in without a correct footing will lean again within two winters.
- Skipping the written scope. If the quote just says “fence repair,” you have no way to check what was done. A written line-item scope fixes that.
See the difference
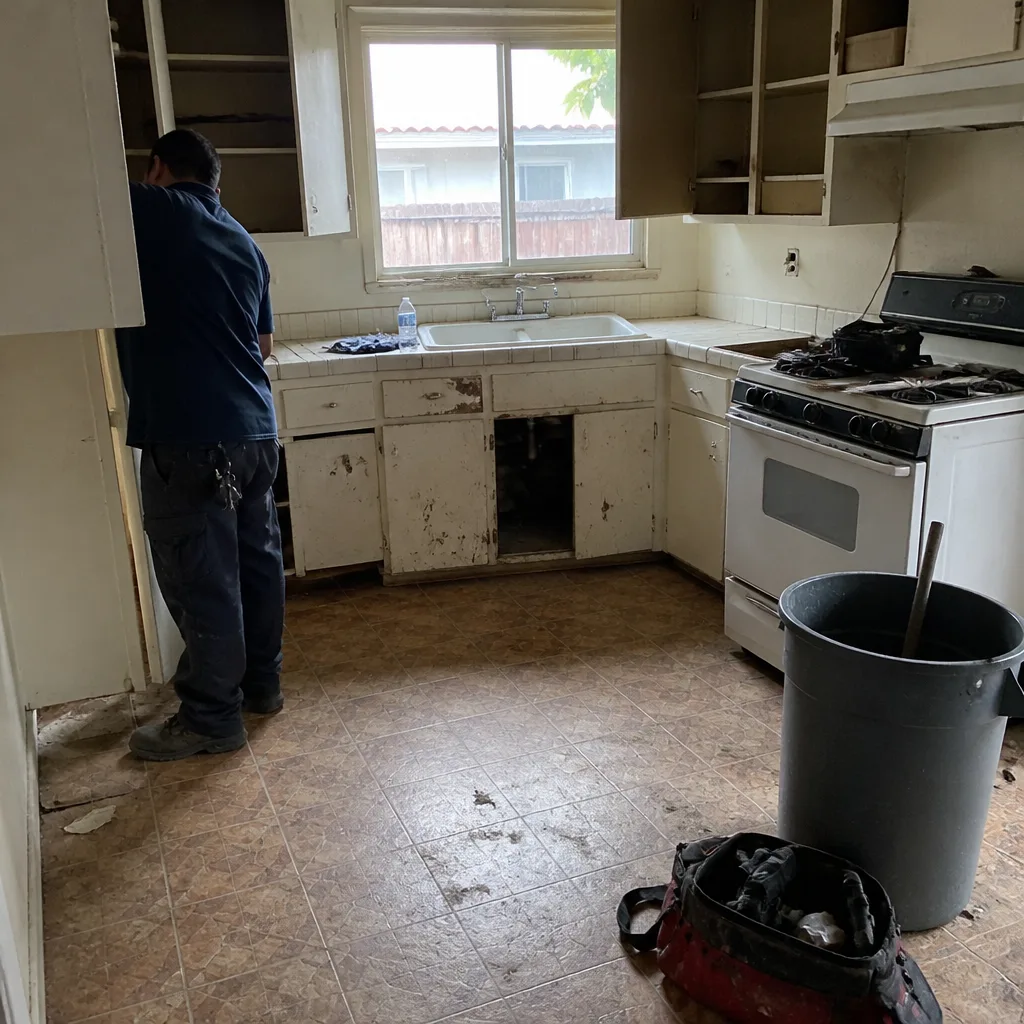 Before
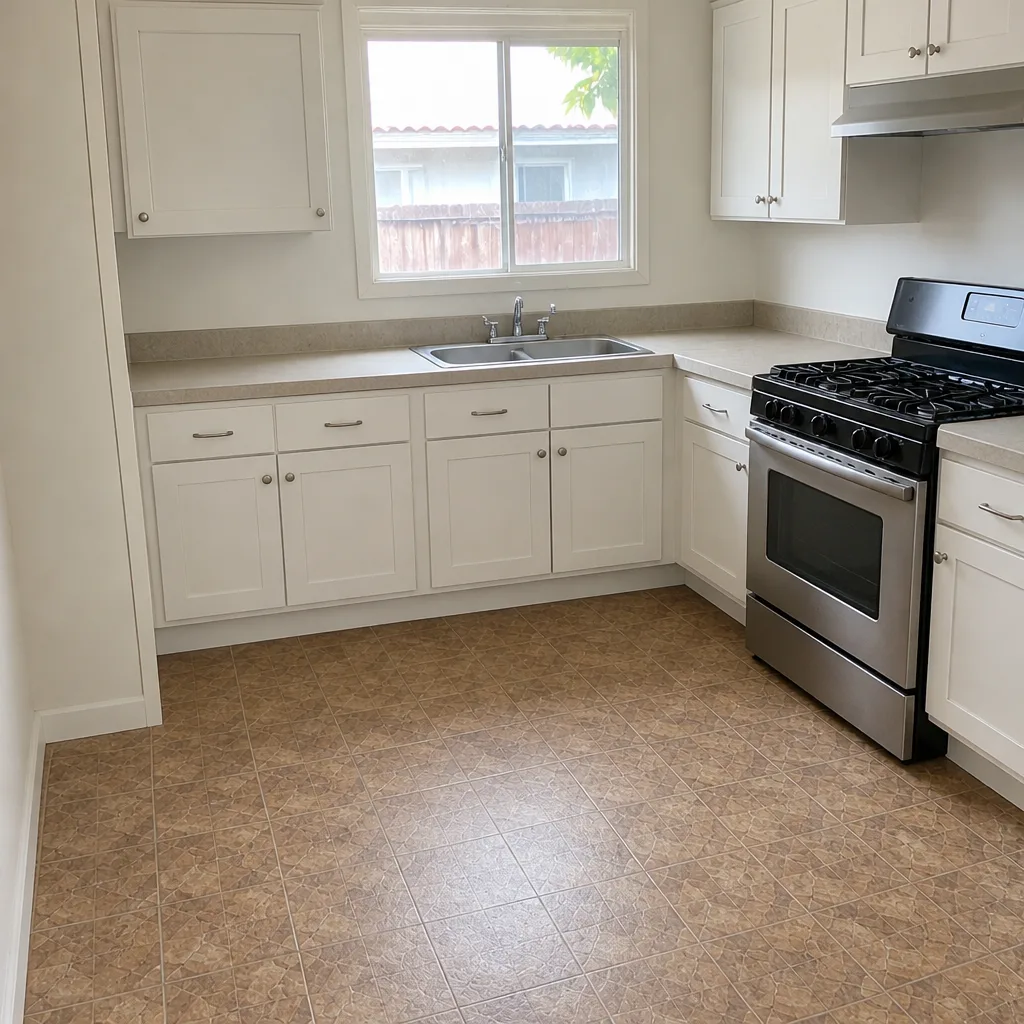 After
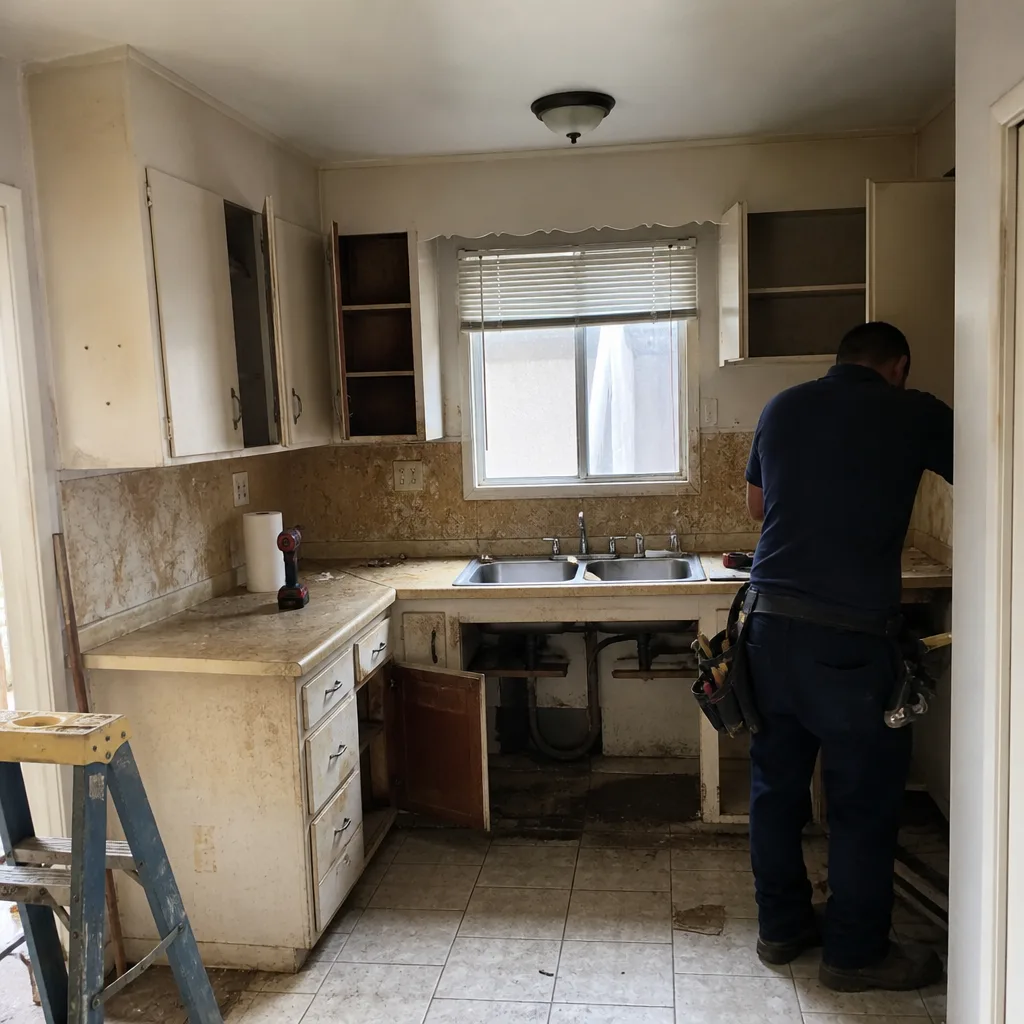 Before
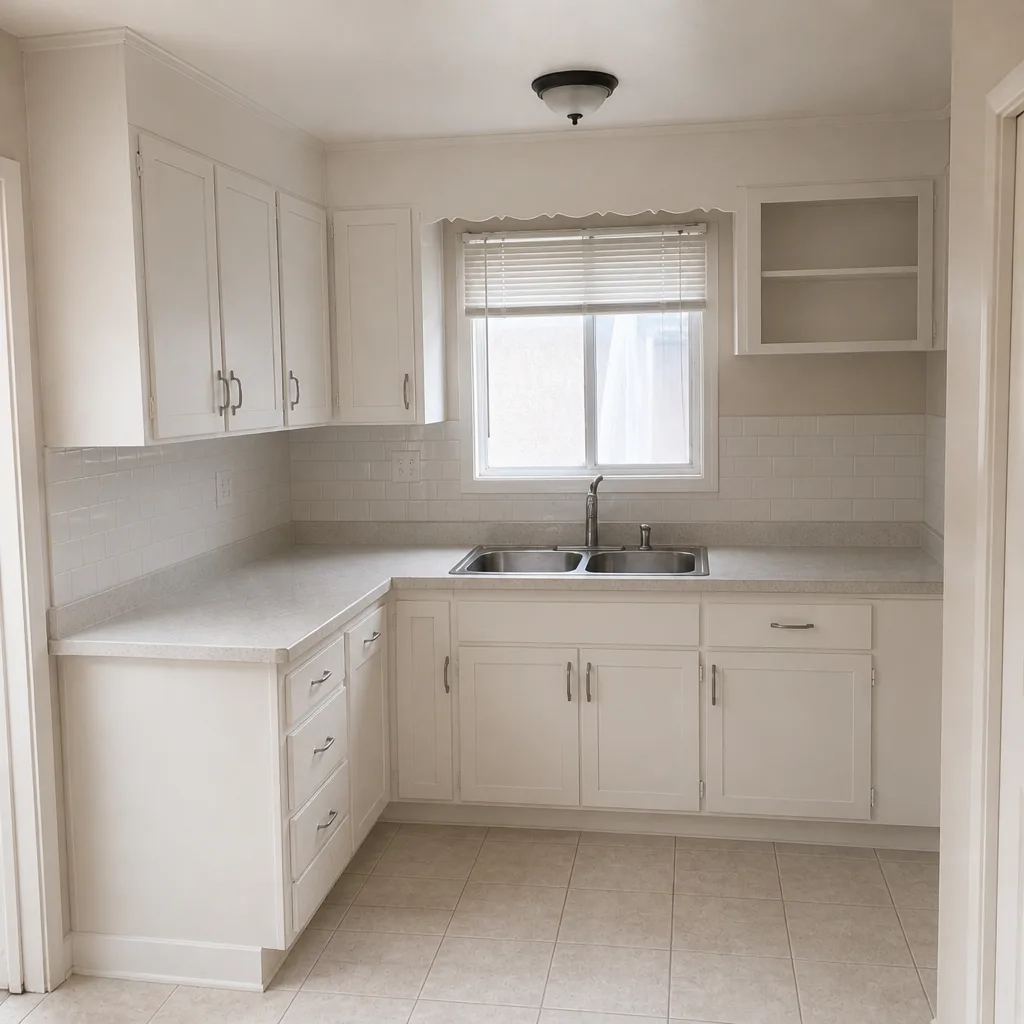 After
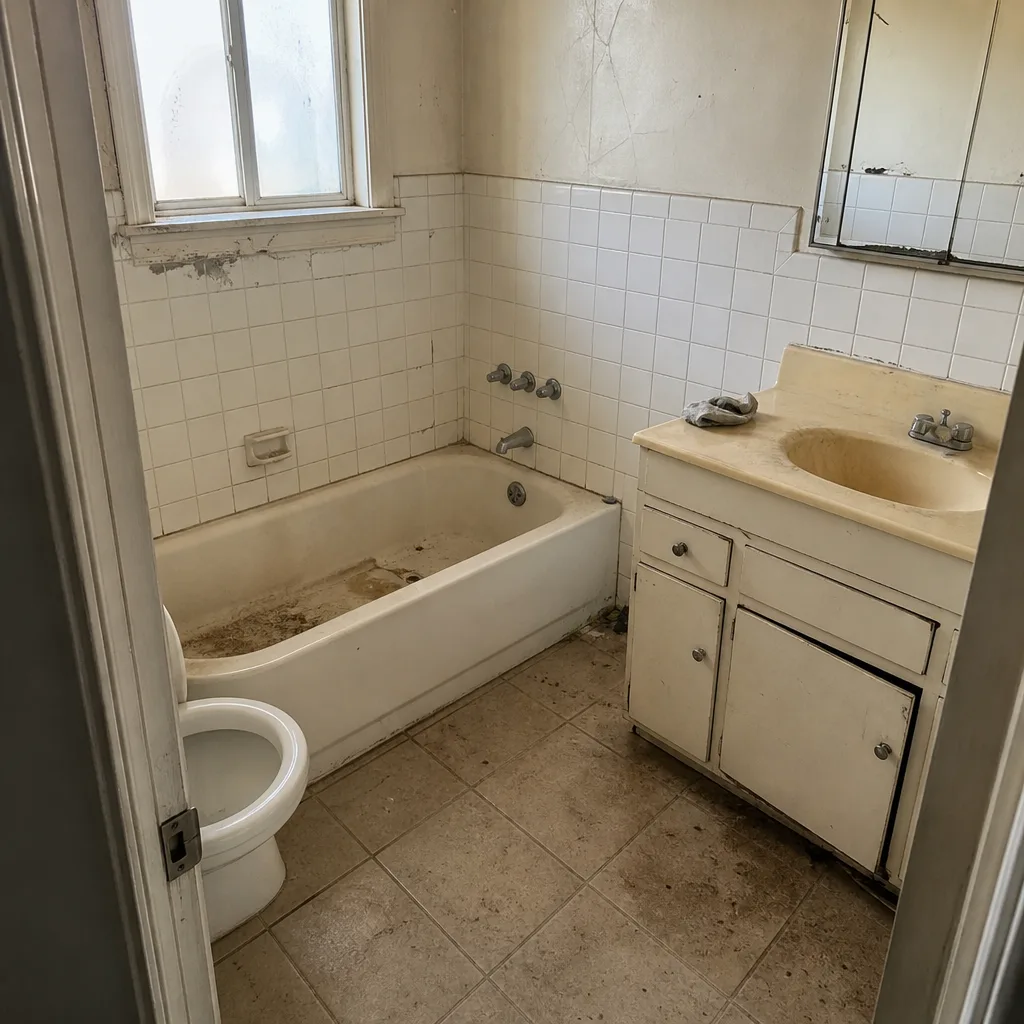 Before
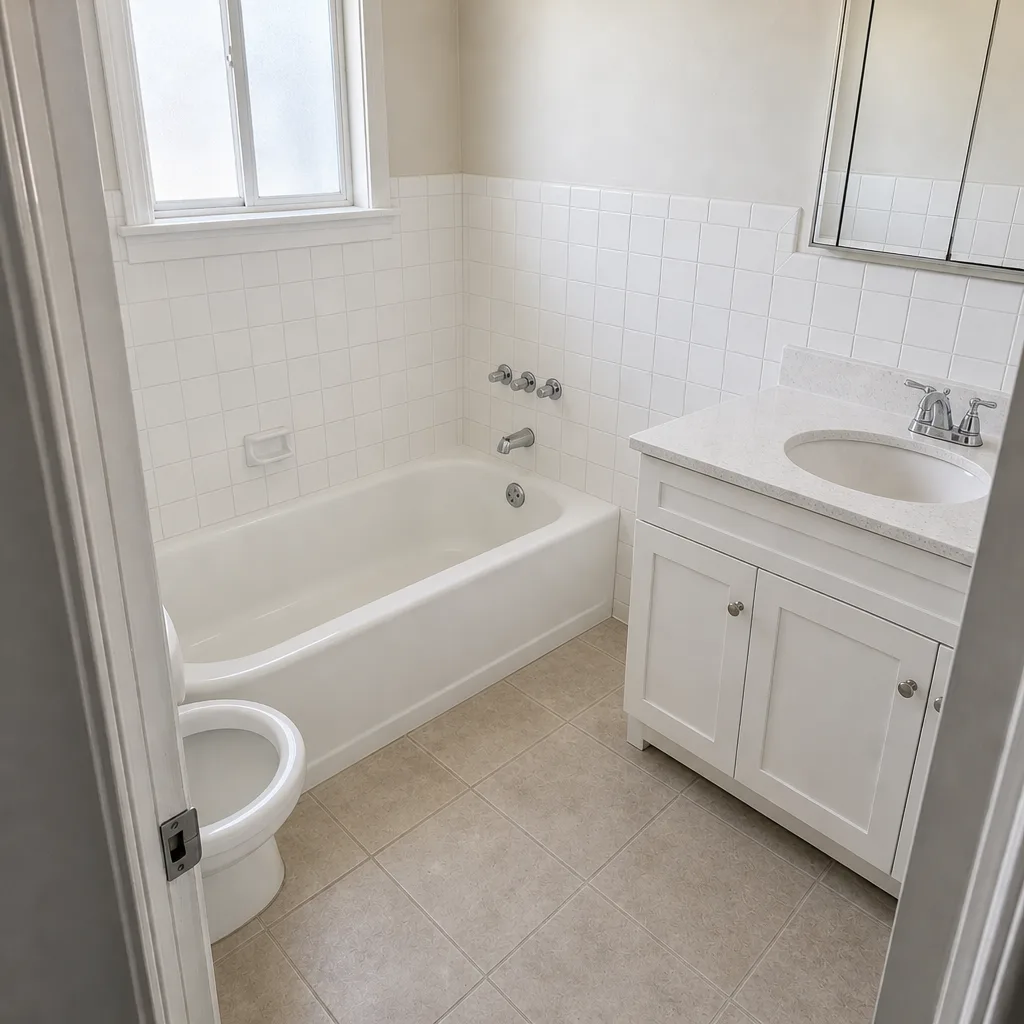 After
When to Call a Professional
Call a professional when the diagnosis points to a footing problem rather than a board, when more than one post is involved, when the fence sits near a property line, or when a gate keeps sagging after a first fix. These are the cases where the wrong fix hides the problem for another season and costs twice as much the second time. Small tasks – re-hanging a few boards, applying a penetrating stain – are genuinely DIY-friendly if you’re comfortable, and we’d rather you hear that. What we don’t recommend tackling alone is digging and re-pouring a post footing in clay soil, resetting a failed post, or touching a fence that could shift onto a neighbor’s property. Rowan Construction Group Garden Grove offers free estimates in Garden Grove – call (888) 303-8980, and we’ll send a background-checked technician who’ll document what we find with photos before anyone touches a tool.
Frequently Asked Questions
A leaning post repair in Garden Grove typically runs $350 – $600 for a single post, depending on height and access. If the footing is undersized (which is almost always the cause), the repair is either a sister post driven deeper or a full re-pour of the footing. Call (888) 303-8980 for an exact quote – estimates are free.
The written price we give you is a flat price with a written scope, not an estimate. If we open the ground and find a footing problem we didn’t see on the initial inspection, no change proceeds until a signed change order is in place. That’s Clause 1 of the Haven Standard, and it’s why the final invoice lands within a few percent of the number on the page.
Most fence repairs and like-for-like replacements don’t require a permit; a new fence over six feet tall or a fence on a corner-lot sight line often does. The written scope we prepare tells you whether a permit is required for your specific situation, and if it applies, we pull it and pass inspection.
Cupping that faces the same direction across the whole run points to moisture cycling – a finish or wood-treatment problem. Boards that are buckling at the center, tight against their neighbors, or cupping most on the sun-facing side point to attachment error. Run your hand along the boards; if you feel edge-to-edge tightness with no gap, that’s the installation diagnosis.
Galvanized screws break down in salt air within 3 to 5 years on a coastal-adjacent fence, which is why rust bleed shows up in Garden Grove. Stainless steel or a Cortex-style hidden fastener system is the correct spec, and it should be written into the scope for any new install or re-fastener job.
Yes – we offer a free second opinion on any written estimate. Bring the competitor’s quote and we’ll review it line by line at no charge, checking the footing depth, fastener spec, and material details. That’s a standing offer, not a promotional one.
The Bottom Line
Most fence failures in Garden Grove aren’t material failures – they’re installation errors that show up 12 to 36 months after the crew leaves, and the symptom tells you which shortcut caused it. A leaning post means the footing is under 24 inches deep or under 10 inches wide. Warping boards mean a moisture or gap problem – two different diagnoses. A sagging gate usually means a reversed brace, not a missing hinge. Rust bleed means the wrong fastener for the salt air. Get the diagnosis right and you’re looking at a few-hundred-dollar fix; get it wrong and you’re replacing a section. When the diagnosis points beyond a small board or stain, bring in a contractor who documents what they find and prices the fix in writing before work starts. For everything from fences to roofs to a new kitchen, Home Additions & ADU in Garden Grove shares the same written-price discipline across every Rowan trade.
Ready to schedule an estimate? Call Rowan Construction Group Garden Grove at (888) 303-8980 for a free estimate on any fence repair, replacement, or full installation. Every visit includes a documented photo record and a written scope with a flat price before any work starts – and every job is backed by the 365-Day Done Right Promise. A live person answers the phone 24/7, and we’re glad to give a second opinion on any fence quote you’ve already received.
Written by the team at Rowan Construction Group Garden Grove.