Last updated November 17, 2026
Free written scope consultation - allowances, timeline, and change-order rules on paper before a single trade is scheduled
DIY vs Professional Fence Installation: What’s Safe to Do Yourself
Setting a fence post is a task most homeowners can physically accomplish in an afternoon. But setting it with the correct footing volume, the correct concrete cure time, and the correct plumb tolerance requires knowledge that the YouTube tutorial usually skips and the bag of Quikrete doesn’t supply. That gap is where fences fail, and it’s why fence installation is one of the most DIY-attempted home projects and one of the most commonly done wrong in ways that only surface years later. This guide breaks the job down phase by phase and grades each one by the consequence of getting it wrong, not by how hard it looks. If you’re weighing DIY against hiring a crew in Garden Grove, here’s what we’ve learned watching both approaches play out.
Styles & brands we work with
- Kitchen remodeling
- Bathroom remodeling
- Home additions & ADU
- Roofing
- Windows & doors
- Driveway & pavers
- Fence
Quick Answer
Most fence installation phases are DIY-feasible if you’re patient and rent the right tools: layout with confirmed survey data, post hole digging, footing pours, and board attachment. The phases that are not DIY-safe are gate hanging without structural bracing knowledge and any fence section that crosses a property line, which legally requires a confirmed survey plat. Post plumb verification to ±1/8 inch over 6 feet and a 72-hour concrete cure before lateral load are the two technical checkpoints most DIY installs skip.
Table of Contents
- Why We Grade Fence Tasks by Consequence, Not Difficulty
- Layout and Permits: DIY-Friendly If You Confirm the Survey
- Post Hole Digging: Feasible, With One Soil Caveat
- Footing Pour: The Quikrete Ratios That Matter
- Panel and Board Attachment: The DIY Sweet Spot
- Gate Hanging: Where DIY Gets Structurally Risky
- The One Task That Is Never DIY-Safe
- Real Cost Comparison: DIY vs Contractor
- Common Mistakes to Avoid
- When to Call a Professional
- Frequently Asked Questions
- The Bottom Line
Why We Grade Fence Tasks by Consequence, Not Difficulty
A fence has an unusual failure profile. It looks correct on day one and stays correct for a year or two, then the thermal cycling starts working on it. Southern California swings between cool coastal nights and hot inland afternoons, and a fence in Garden Grove sees that expansion and contraction every single day. A post set in an undersized footing, or a gate hung without a diagonal brace, holds fine through the first dry season and starts to lean or sag by the third or fourth.
That’s the test we use here: will this phase hold up through five seasons? A task that looks easy but fails quietly at year four is more dangerous to a homeowner than a task that looks hard and works. So each phase below gets graded on what happens when it goes wrong, not on how much sweat it takes. For the full professional picture, our Fence Installation in Garden Grove page lays out the finished scope.
The Five-Season Standard
When we evaluate an existing fence, we look for the tell-tales of a DIY install that’s aging: posts out of plumb, concrete footings that pulled up with the post, gate frames racking out of square, and fasteners that rusted through because they were the wrong coating for the wood. Each of those traces back to one skipped checkpoint that felt optional at the time. That’s the lens for everything that follows.
Layout and Permits: DIY-Friendly If You Confirm the Survey
Layout is the most DIY-friendly phase, with a single hard condition: you need confirmed survey data, not a string line from the corner. In Garden Grove, a fence taller than 6 feet, or any masonry fence, triggers a permit requirement. That permit process asks for a site plan and often a setback confirmation, which is why the survey material matters before the first stake goes in the ground.
Here’s the sequence that keeps layout honest:
- Pull your property plat or survey from your closing documents or the county recorder’s office.
- Locate the marked corners or monuments and confirm them against the plat, not against a neighbor’s existing fence.
- Measure setbacks to your planned fence line and compare them to the Garden Grove municipal code for your zoning.
- Submit the permit application if your fence exceeds 6 feet or uses masonry construction.
- Have utility locator service mark the line before any digging, which is free and required.
What happens to a DIY unpermitted fence at property sale is the part people underestimate. A buyer’s inspector flags it, the title company asks for documentation, and suddenly you’re either pulling a retroactive permit or removing a fence to sell a house. An unpermitted fence over 6 feet can also draw a code enforcement notice during the years you own the property. Layout and permitting are quiet, cheap, and DIY-appropriate as long as you treat the survey as non-negotiable.
Post Hole Digging: Feasible, With One Soil Caveat
Digging fence post holes is physically demanding but technically simple, and renting a gas-powered auger turns a weekend into an afternoon. The caveat is soil. Garden Grove sits across a mix of sandy loam near the older neighborhoods and heavy clay pockets in some inland blocks and fill areas. Sandy loam augers out in minutes. Clay grabs the auger, and clay that holds water will heave a post sideways after a wet winter, no matter how well you set the concrete.
Know the signal to call for help: if the auger is climbing out of a wet, sticky hole that keeps collapsing inward, you’ve hit the clay you can’t fight with a rental tool. That’s a job for a crew with a tractor-mounted auger and experience reading the soil before the pour. Post hole depth should put roughly a third of the post’s above-ground height into the ground, with the bottom of the footing below the frost line (which barely exists in Garden Grove, so the driver is depth for lateral stability and clay heave rather than frost). Our Rowan Construction Group Garden Grove home page describes the trades we cover when dirt work gets harder than expected.
Footing Pour: The Quikrete Ratios That Matter
Footing pour is DIY-feasible if you’re disciplined about three variables: concrete volume, concrete type, and cure time. Undersize the footing and the post leans against a concrete block that tips with it. Use the wrong mix and the concrete crumbles. Skip the cure and you’ve loaded the post while the chemical reaction is still in progress.
Practical numbers for a residential fence post footing:
- Footing diameter: roughly three times the post’s width, so a 4×4 post needs a hole near 12 inches across.
- Footing depth: below the soil’s wet/dry swing, typically 30 to 36 inches in Garden Grove.
- Quikrete mix: Quikrete Fast-Setting Concrete mix for rapid set, or standard Quikrete Concrete Mix if you can allow a longer cure. Sakrete’s fast-setting product is an equivalent. Both are bagged products available at any lumberyard in Garden Grove.
- Water ratio: follow the bag, not your judgment. Extra water weakens the final strength more than DIYers expect.
- Cure: 72 hours minimum before you attach panels or put lateral load on the post. The bag may say shorter for foot traffic, but a fence panel under wind load is different.
Set the post on a couple of inches of gravel at the bottom for drainage, plumb it, brace it, then pour. The concrete doesn’t glue the post in plumb; the post has to be plumb before the pour and stay there while it cures.
Panel and Board Attachment: The DIY Sweet Spot
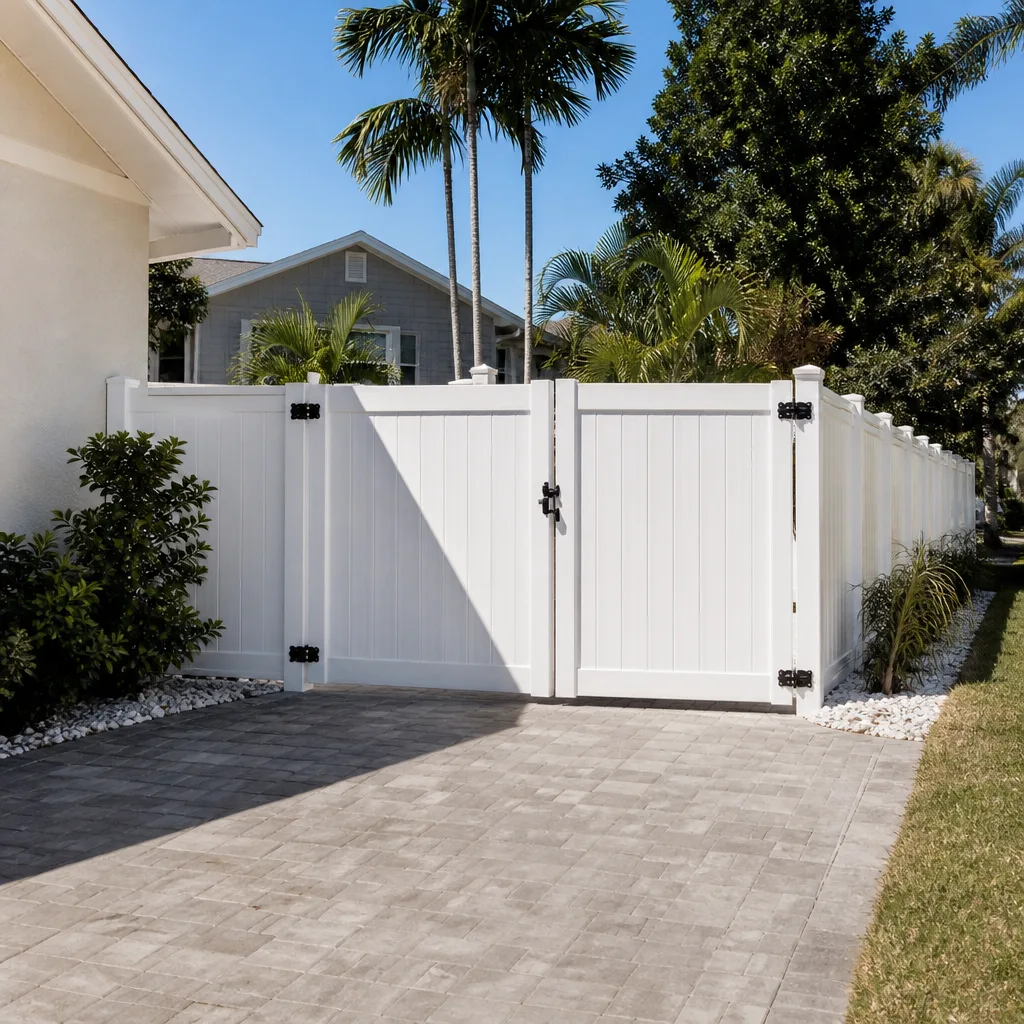
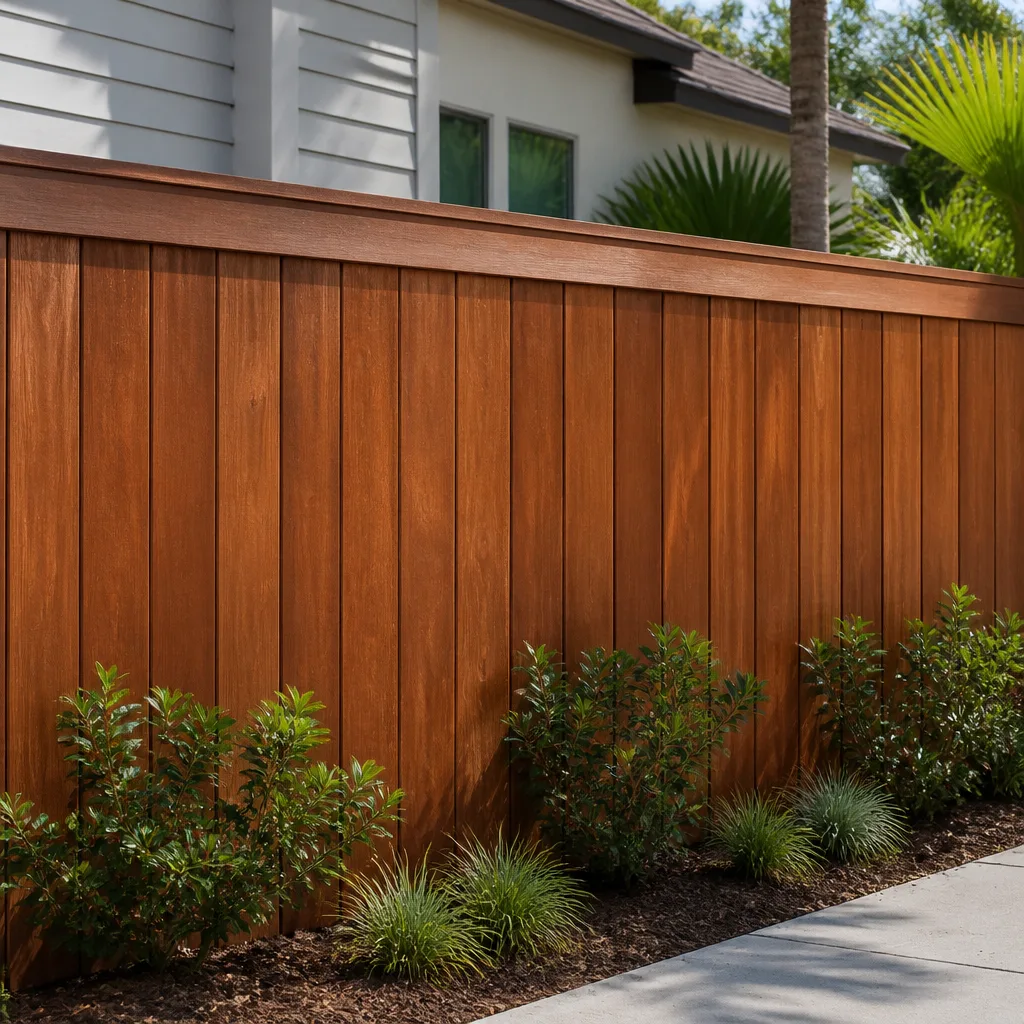
Attaching panels or boards is the phase most homeowners should do themselves if they’ve made it this far with sound posts. It’s flat, forgiving, and the failure modes are cosmetic rather than structural. Common styles in Garden Grove include dog-eared pressure-treated pine, cedar privacy panels, and the newer composite systems; each has slightly different fastener requirements.
What to get right:
- Use hot-dipped galvanized or stainless fasteners. Plain steel or electro-galvanized screws rust through in a couple of seasons and leave black streaks and loose boards.
- Predrill cedar. It splits.
- Leave a gap between boards to allow expansion, usually 1/8 to 1/4 inch on a tight fence.
- Fasten each board at the top and bottom rail, not just the top.
- Set panel tops level by running a string line, not by eye.
Board attachment is the phase where DIY effort saves real money because it’s labor, and labor is a big part of what a contractor charges.
Gate Hanging: Where DIY Gets Structurally Risky
Gate hanging is the phase that fools people. A gate looks like a panel with hinges. It isn’t. A gate is a cantilevered structural element that carries its own weight plus wind load, and it relies on the gate frame’s bracing, the hinge post’s foundation, and the swing geometry to stay square.
The specific failure mode: a gate hung without a diagonal brace or corner blocks racks out of square within a season, dragging the hinge post with it. A hinge post set in an undersized footing follows soon after, and the gate begins to sag and hit the ground.
If you want to hang your own gate, the minimum checklist is a hinge post set in a concrete footing wider and deeper than a standard fence post, corner blocks or a metal bracket at each frame joint, and a diagonal tension brace running from the top hinge side to the bottom latch side. If you aren’t confident you can correctly orient that brace, hire it out. A sagging gate in Year 3 in Garden Grove wind isn’t a wrist-slapping inconvenience; it’s a repair that costs more than having hung it right.
The One Task That Is Never DIY-Safe
Any fence section that crosses or sits on a property line requires a confirmed survey plat or a licensed survey before installation. This is not a legal grey area. A string line pulled from a corner your neighbor pointed to is not a legal property-line determination. It is a guess, and if the guess is wrong, you’ve built a fence on someone else’s land, which is a trespass in the eyes of the law regardless of your intent.
In Garden Grove, older blocks and remapped parcels sometimes carry monument uncertainty, and fences have drifted from the true line over decades. What we see on boundary disputes is almost always one party who trusted a string line and one party who had a survey. Get the survey before the first stake. It’s a few hundred dollars versus a few thousand in removal, rebuild, or argument. The layout phase of Driveway & Pavers in Garden Grove follows the same rule when a paver edge meets a property line.
Real Cost Comparison: DIY vs Contractor
For pressure-treated pine privacy fence, DIY material cost runs roughly $18 to $24 per linear foot. Contractor-installed runs roughly $35 to $55 per linear foot, all-in, for the same fence. The gap isn’t magic; it’s the line items below, each of which has a real cost.
| Line Item | DIY Cost per Linear Foot | Contractor-Inclusive |
|---|---|---|
| Posts, rails, boards, concrete | $18 – $24 | Included |
| Fasteners (galvanized or stainless) | $1 – $2 | Included |
| Auger rental, hand tools | $2 – $4 (one-time, amortized) | Included |
| Permit fee | $50 – $250 one-time | Included |
| Labor (digging, setting, hanging) | Your weekend or two | Included |
| Old fence removal and haul-away | $0 – $400 (dump run) | Included |
| Gate build and alignment | DIY, risk on bracing | Included |
| Workmanship warranty | None | 365-Day Done Right Promise |
On a 100-linear-foot fence, the DIY range lands near $2,000 to $2,400 in materials plus your weekends. The contractor range lands near $3,500 to $5,500, plus or minus for gate complexity and material grade. The $1,500 to $3,000 gap buys you a written price, a written scope before work starts, permits pulled and inspected, haul-away, and a warranty that actually calls someone back if the gate sags at Month 11. That’s the fair read of the number, and it should be part of how you decide.
Common Mistakes to Avoid
- Trusting a string line for the property line. Without a survey plat, you’re guessing. In Garden Grove, that guess can mean removing the fence after a sale inspection opens title.
- Undersizing the footing on a tall or windy fence. A 6-foot solid privacy fence catches wind like a sail. Footings need the width to match.
- Pouring concrete around a post that isn’t plumb. Concrete locks the error in. Verify with a digital level to ±1/8 inch over 6 feet before the pour.
- Attaching panels before the concrete hits 72-hour cure. The lateral load during the still-curing window cracks the footing along the post face.
- Using the wrong concrete mix. Quikrete Fast-Setting is fine when you need a fast turnaround; don’t guess ratios. Follow the bag.
- Hanging a gate without a diagonal brace. The frame racks within a season and takes the hinge post with it.
- Skipping the utility locator call. Free, required, and one call prevents an expensive hit to a gas or irrigation line under a Garden Grove yard.
- Building over 6 feet without a permit in Garden Grove. Unpermitted work is a problem at sale, at insurance review, and if code enforcement knocks.
When to Call a Professional
Call a professional when any of these are true: the fence crosses a property line or sits on a boundary that isn’t confirmed by survey; the fence is over 6 feet or masonry; the gate is structural and you aren’t confident in the diagonal bracing; the soil turns heavy and wet and the auger is fighting the hole; or the fence is part of a larger project like a Home Additions & ADU in Garden Grove where the fence line needs to integrate with a new structure, setback, or utility run. Call also when you want the work finished in a few days, permitted, inspected, and under written warranty. Rowan Construction Group Garden Grove offers free estimates in Garden Grove, with a written price before any work starts, a written scope, and a free second opinion on any estimate you’ve been given by someone else. Call (888) 303-8980 to schedule. Our technicians have up to 19 years of experience, and every crew member is background-checked and uniformed.
Frequently Asked Questions
DIY is strictly cheaper in out-of-pocket dollars: roughly $18 to $24 per linear foot in materials versus $35 to $55 per linear foot installed for pressure-treated pine. The catch is that the DIY total doesn’t reflect permits, haul-away, gate fabrication, or a workmanship warranty, and a mis-set gate or an undersized footing will cost more to repair than it saved. Call (888) 303-8980 for a written price you can line-item against your DIY estimate; estimates are free.
Yes, for any fence taller than 6 feet in Garden Grove, and for any masonry fence regardless of height. Standard wood or composite privacy fences at or under 6 feet follow the less-strict pathway but still need to comply with setback and corner-visibility rules. If you’re unsure of your zoning, call (888) 303-8980 and we’ll tell you what your project triggers before you apply.
Thirty to thirty-six inches is the working depth for most Garden Grove soil, with footing diameter near three times the post width, so 12 inches across for a 4×4 post. Sandy loam blocks auger cleanly; wet clay does not, and clay that heaves will push a post off plumb regardless of size. Call (888) 303-8980 if your soil is fighting the auger and we’ll look at it.
Hang your own only if you can correctly install the diagonal tension brace, corner blocks, and a hinge post set in a wider and deeper footing than the standard post. A gate is cantilevered, not like a panel, and a missing brace racks the frame out of square within a season or two. If any of that sounds uncertain, hire it. Call (888) 303-8980 for a free estimate on the gate phase alone.
The buyer’s inspector flags it, the title company asks for documentation, and you either pull a retroactive permit, remove the fence, or negotiate a credit at closing. It becomes a schedule risk on the sale, not just a paperwork issue. Call (888) 303-8980 for a free review of what your existing fence needs to be documented before you list.
No, not without a signed change order. The written price is delivered before any work starts, and no change proceeds until the change order is signed. That’s the discipline that has kept Rowan’s projects within a few percent of the agreed cost across 4,000-plus jobs. Call (888) 303-8980 to schedule a free estimate and see it in writing.
The Bottom Line
Fence installation splits into DIY-friendly and consequence-heavy phases. Layout with confirmed survey data, digging (in good soil), footing pours with the right Quikrete or Sakrete mix and a 72-hour cure, and board attachment are all safe for a careful homeowner. Gate hanging without structural bracing knowledge, any section on a property line, and anything over 6 feet or masonry in Garden Grove belong to a professional who will pull the permit, set it plumb, and warranty the work. On a 100-foot fence, DIY saves roughly $1,500 to $3,000 in return for two weekends of labor and zero warranty. Both are valid outcomes. The question is which consequence you’re willing to own.
When you want the written scope, the permit, the inspection, and the warranty in a single document before the first post goes in the ground, call Rowan Construction Group Garden Grove at (888) 303-8980 for a free estimate. You’ll get a flat written price, a written scope, a documented photo record on every visit, and the 365-Day Done Right Promise behind the work. Bring a competitor’s quote and we’ll review it line by line at no charge. Estimates are free, the price doesn’t change without a signed change order, and the number on the page is the number you pay.
Written by the team at Rowan Construction Group Garden Grove.
See the difference
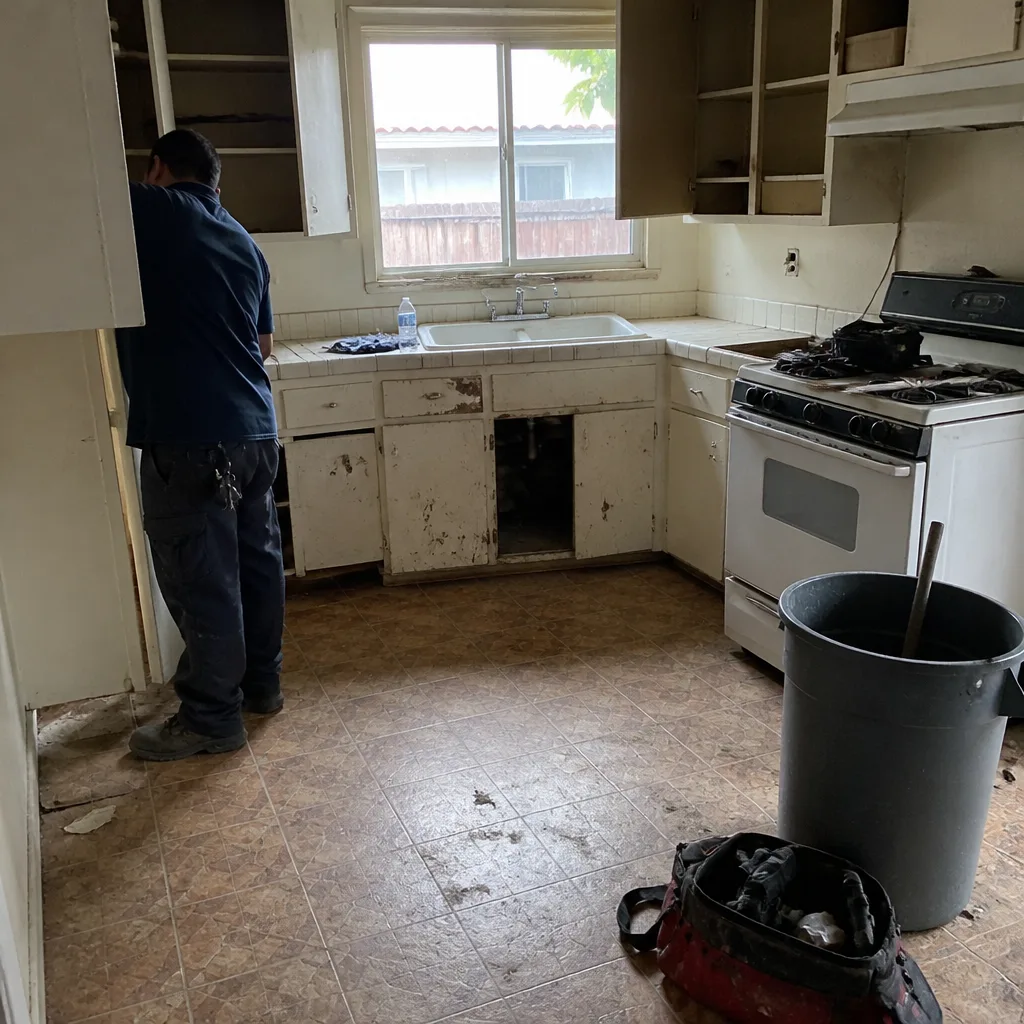 Before
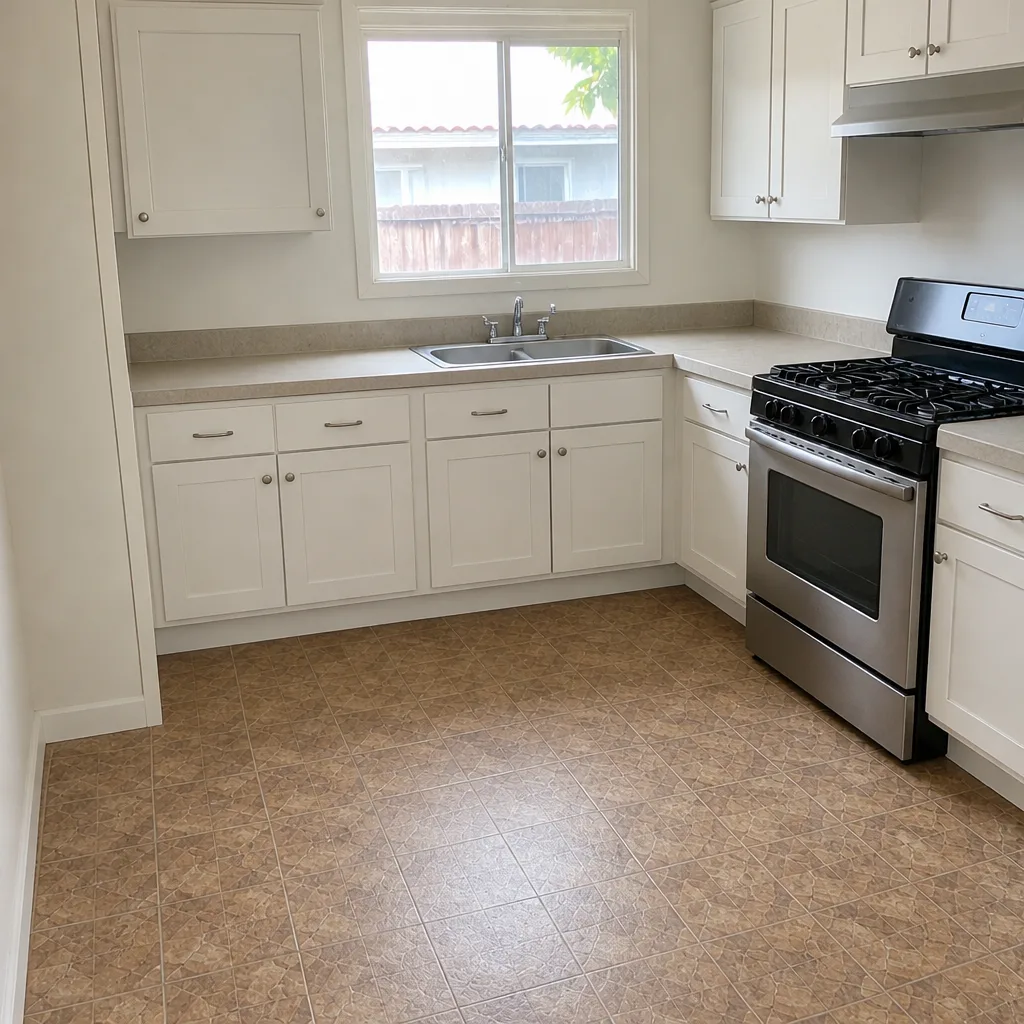 After
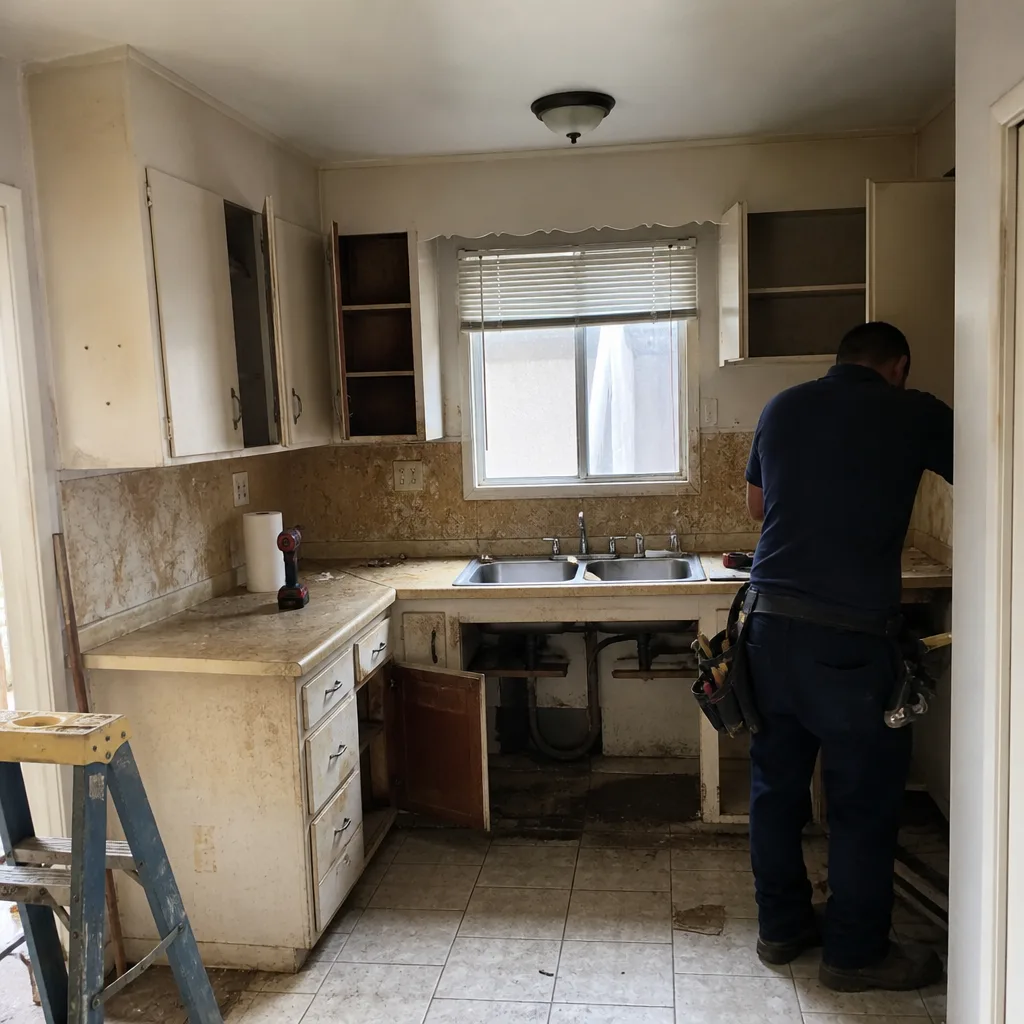 Before
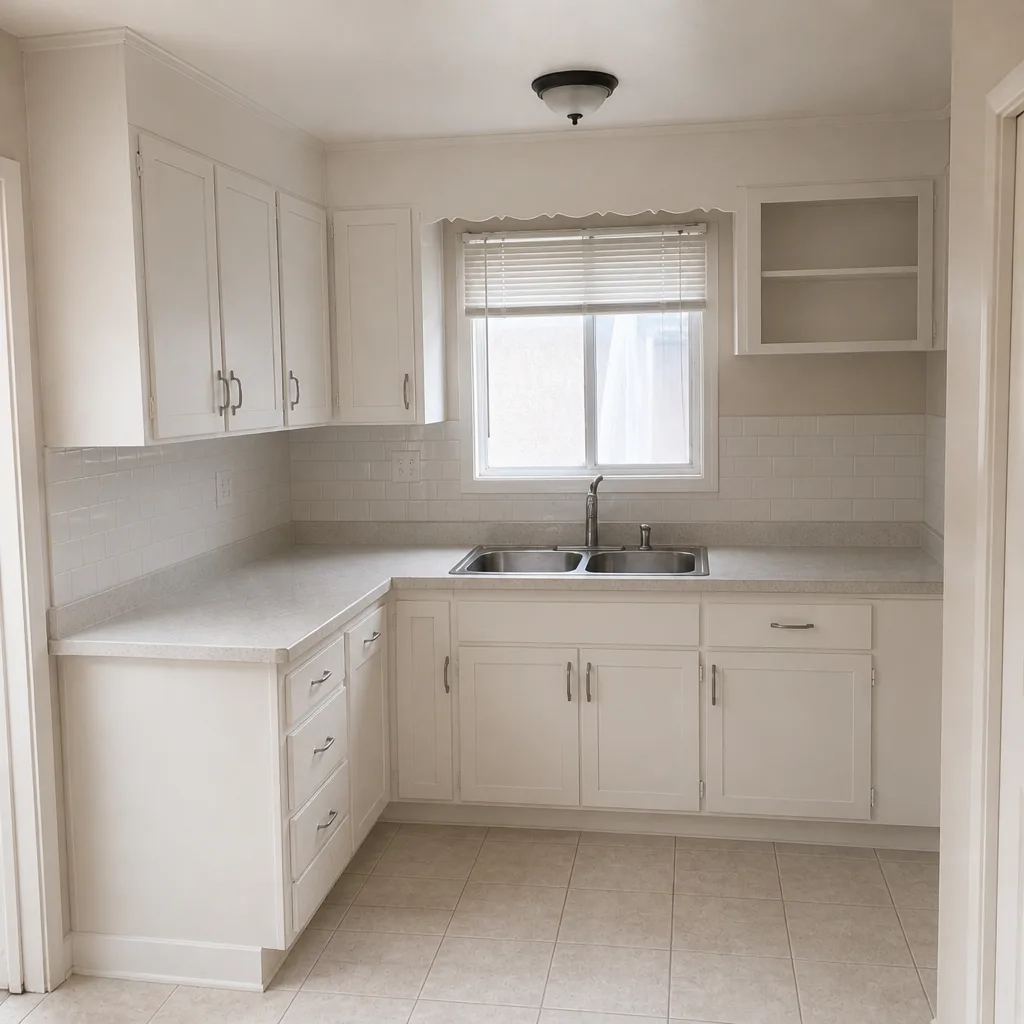 After
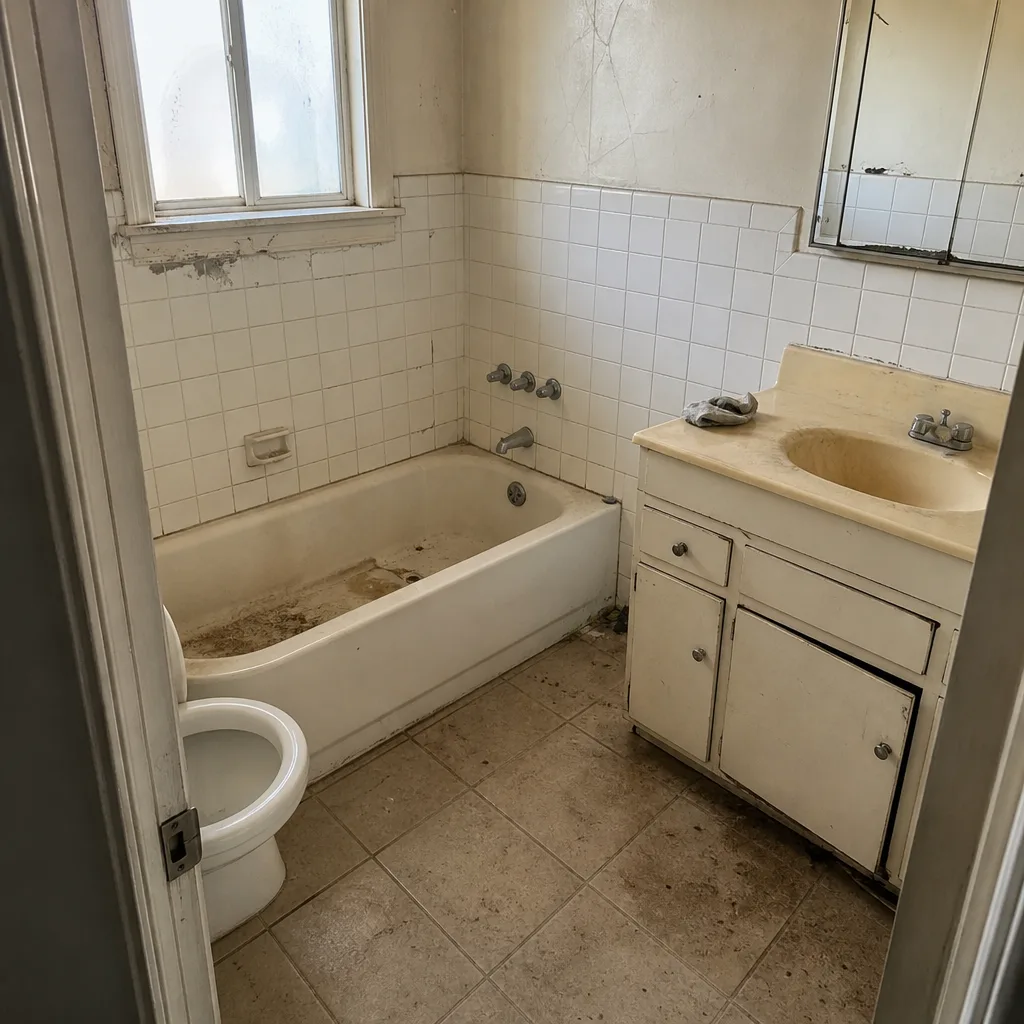 Before
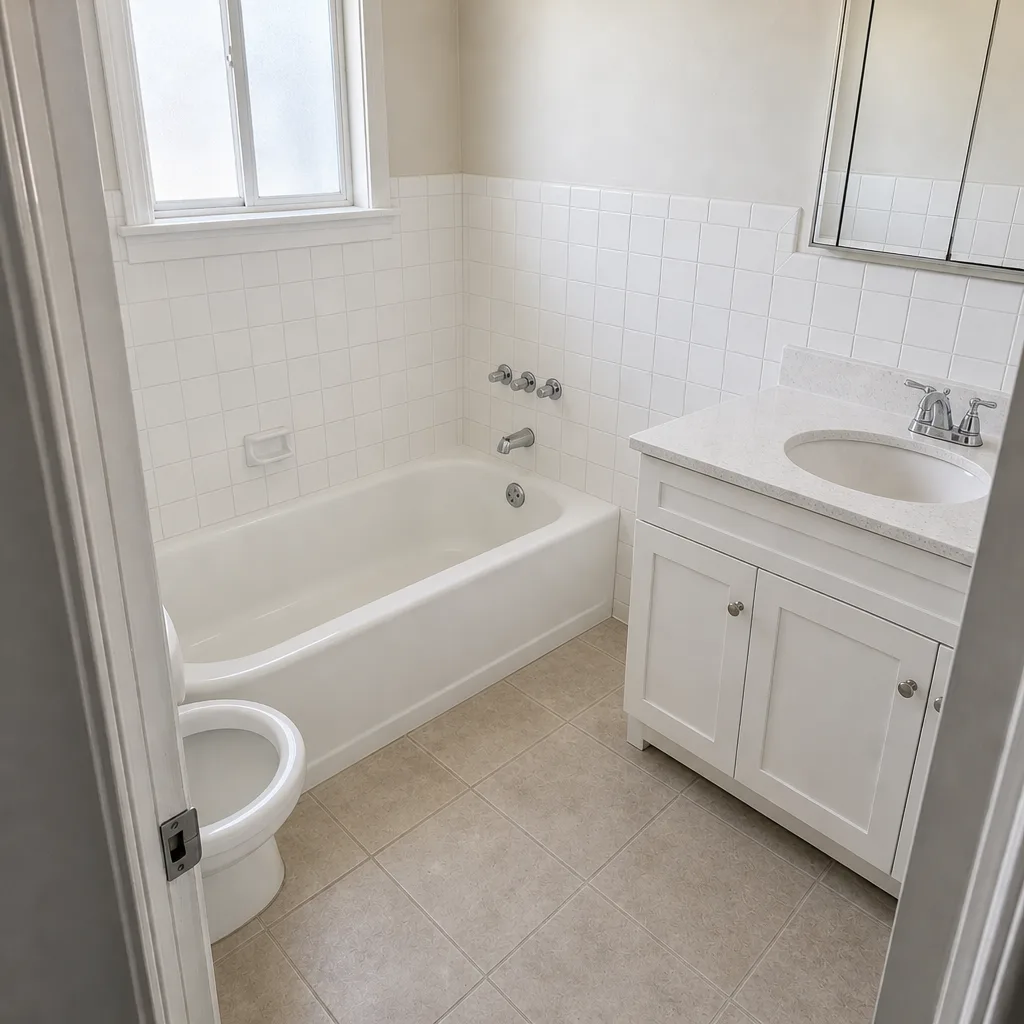 After