Last updated November 17, 2026

Free written scope consultation - allowances, timeline, and change-order rules on paper before a single trade is scheduled
DIY vs Professional Windows & Doors: What’s Safe to Do Yourself
Here is the number that surprises most homeowners: a door or window swapped into its existing rough opening without a permit is a gray area most California jurisdictions quietly tolerate. Widen that same opening by two inches to fit a wider unit, though, and you’ve just done unpermitted structural work. When a home inspector flags it during a resale in Garden Grove, it routinely costs the seller $5,000 to $15,000 in negotiation, or ends the sale outright. The line between DIY-safe and call-a-pro runs right through that distinction. This guide marks exactly where it sits, what each side of it actually involves, and why the warranty math changes the answer.
Quick Answer
Like-for-like window and door replacement in the same rough opening, same cladding plane, same performance class is safe DIY territory in most of Garden Grove, though product warranties often still require a licensed installer. Any change to the rough opening’s size, any structural alteration to the frame, and any work that touches the stucco or housewrap flashing layer belongs to a licensed contractor with a permit. Unpermitted structural work is one of the most common disclosure problems that delay Orange County closings.
Styles & brands we work with
- Kitchen remodeling
- Bathroom remodeling
- Home additions & ADU
- Roofing
- Windows & doors
- Driveway & pavers
- Fence
Table of Contents
- The Three Categories of Window and Door Work in California
- What “Like-for-Like” Actually Means to a Building Inspector
- The Real Skill and Tool Assessment for DIY Window Replacement
- The Garden Grove Stucco Problem
- Cost Comparison That Accounts for Warranty
- Doors: A Different Risk Profile
- How Unpermitted Work Shows Up at Resale
- A Decision Framework for Garden Grove Homeowners
The Three Categories of Window and Door Work in California
California building code sorts window and door work into three buckets, and knowing which bucket your project lands in is the entire decision. Most homeowners skip this step and start pricing materials. That’s the wrong order.
Category One: No permit required. This is direct replacement of a window or door into the existing rough opening, keeping the same dimensions, the same exterior cladding plane, and the same performance class. A 3-foot by 5-foot aluminum slider comes out, a 3-foot by 5-foot vinyl or fiberglass unit goes in. No changes to the opening’s size, no changes to the header, no reworking of the surrounding stucco. In Garden Grove and most neighboring cities, this typically moves forward without a permit.
Category Two: Permit required but owner-builder eligible. Most single-family residential window and door work where the homeowner occupies the home falls here. That includes garage door replacement on some older configurations, entry door replacement when the frame is rebuilt, and windows installed where the manufacturer’s instructions require inspection of the flashing. The homeowner can pull the permit and self-perform. That doesn’t mean it’s easy; it means the law allows it.
Category Three: Licensed contractor required. Work that changes the rough opening’s size, alters structural framing, or touches the building’s performance envelope beyond like-for-like replacement generally requires a licensed contractor. In practice this means a C-17 (glazing) or C-5 (framing) license depending on the scope. Widening a doorway, converting a window to a French door, or installing a bigger window unit than the existing opening supports all land here.
For a full picture of how Rowan handles windows and doors within the broader home construction scope, the Rowan Construction Group Garden Grove home page lays out the seven trades and how a written price gets produced before anyone picks up a tool. The point of the three-category framing is that most Garden Grove homeowners are in Category One for a like-for-like replacement and don’t realize that changing anything about the opening removes them from it.
What “Like-for-Like” Actually Means to a Building Inspector
Homeowners hear “like-for-like” and think it means a window that looks similar. An inspector reads it differently. There are three dimensions to the term, and every one of them has to match or you’ve crossed from no-permit into permit territory.
- Same rough opening dimension. The rough opening is the framed hole in the wall, measured between the jack studs and the header. If the new unit needs a rough opening even half an inch wider than the existing one, an inspector will treat it as new construction and want a permit. Half an inch sounds trivial. On a framed wall it means moving studs, possibly re-heading the opening, and re-sheathing.
- Same exterior cladding plane. The new window’s exterior face has to sit in the same plane as the old one relative to the stucco or siding. If the new unit noses out an inch because the manufacturer’s frame depth is different, that’s a cladding plane change and typically requires a permit because the flashing detail has to be re-engineered.
- Same performance class. Windows carry a performance class and performance grade per AAMA/WDMA standards. Stepping up from a lower grade to a higher grade in the same opening usually needs a permit because the installation method changes to satisfy the higher grade’s requirements. Stepping down isn’t allowed.
The specific deviations that trigger a permit even when homeowners assume they don’t:
- Ordering a unit with a wider or taller frame to gain glass area. Every inch matters here.
- Replacing a single-hung with a sliding or casement unit where the operating mechanism demands a different rough opening.
- Replacing a window with a door, or a door with a window.
- Adding a window to a wall that doesn’t have one, obviously structural.
- Changing from a fixed unit to an operable one where egress or structural support changes.
- Replacing an entry door and rebuilding the frame because the old threshold rotted.
The mind trick to avoid: assuming a “same size” unit ordered from a manufacturer will fit the existing opening. On Garden Grove’s mid-century housing stock, the rough openings are often framed to the old aluminum window’s dimensions, and the modern replacement’s frame depth or flange arrangement pushes it out of like-for-like territory. Verify the rough opening and the new unit’s specifications before you assume you’re in the no-permit bucket.
The Real Skill and Tool Assessment for DIY Window Replacement
Replace a single window in a single afternoon is the promise most home-improvement videos make. What they leave out is the helper, the failure points, and the physical reality of working on a framed exterior wall in an occupied house. Here is the honest assessment for a like-for-like replacement.
Tools you actually need:
- Level, at least 2 feet if not 4
- Caulk gun and exterior-grade sealant
- Flashing tape (butyl or similar)
- Oscillating multi-tool for cutting out the old unit
- Utility knife, pry bar, hammer
- Reciprocating saw for particularly stubborn installation screws
- Screw gun and leveling shims
- Respirator and safety glasses, especially with older homes
Time and labor: 4 to 6 hours for a single window for a homeowner working with a helper. Door replacement runs 5 to 8 hours because the frame has to be plumbed and squared. You need the helper. Windows are awkward, heavy, and expensive to drop, and a one-person install on an upper floor is a real injury risk.
The most common failure point: It isn’t the window installation. It’s the integration with the existing housewrap or stucco flashing. A homeowner who seats the window perfectly, shims it level, and caulks the outside edge can still leave a water intrusion path behind the sill because the flashing tape doesn’t transition correctly to the old weather-resistive barrier. That path doesn’t announce itself. It shows up 2 to 3 years later as soft drywall on the interior side, mold behind the baseboard, or a rotted sill plate.
In our experience with Garden Grove homes, the failures we’re called in to fix are almost never the window’s fault. They’re the flashing transition. The homeowner did a competent job seating the unit. They didn’t get the weather barrier right because the old stucco system doesn’t accept modern flashing tape the way new sheathing does. Products like Schluter’s window sealing systems help when they’re applied to a properly prepped substrate and can be specified for the transition. They don’t help when the substrate has deteriorated or the stucco edge won’t accept a bonded membrane.
The Garden Grove Stucco Problem
Most homes in Garden Grove are built with three-coat stucco. That’s a base coat, a brown coat, and a finish coat over metal lath and building paper. It’s a durable assembly that lasts decades and looks right when it’s intact. It’s also unforgiving when you cut into it.
The DIY window replacement sequence in a stucco wall goes like this: cut the stucco back to expose the old window’s nailing flange, pull the old unit, set the new unit, flash, then patch the stucco edge. That last step is where the failure lives. Three-coat stucco doesn’t take a patch the way drywall does. The patch has to integrate with the existing lath, match the existing coat thickness, cure consistently, and accept the finish texture. Homeowners who attempt the stucco patch themselves almost always get a visual match but a compromised weather seal. The finish coat cracks at the bond line within one or two seasons. Water gets in through the crack. Two to three years later, you’re pulling the baseboard out because the interior wall is soft.
The right sequence is to involve a stucco contractor or a construction contractor who carries the stucco scope. That’s not for the DIY homeowner’s benefit. It’s because the water intrusion path that forms behind a poorly integrated stucco patch is slow enough that the homeowner doesn’t know it’s happening until the damage is expensive.
If your window or door project is part of a broader exterior change, the Home Additions & ADU in Garden Grove page shows how stucco tie-ins are handled when new construction meets existing, and the same discipline applies on a replacement. If the project also touches the driveway, the paver scope on the Driveway & Pavers in Garden Grove page keeps the exterior work in one coordinated sequence. And if the doors are part of a bigger exterior envelope change, the Fence Installation in Garden Grove page shows how site work gets sequenced alongside the building envelope.
Cost Comparison That Accounts for Warranty
The DIY cost comparison most homeowners run stops at materials. The real calculation has to include the warranty consequence, and it changes the math significantly.
Most window manufacturers void the product warranty on units not installed by a certified or licensed contractor. That’s not a technicality; it’s a standard term in the warranty document. A Milgard window with the company’s Full Lifetime Warranty installed DIY can become a window with no warranty. The glass seal fails at year seven because of a manufacturing defect, and the replacement cost comes out of the homeowner’s pocket because the warranty was voided by the installation method.
Here’s the representative math on a single like-for-like replacement, unit only:
- DIY material cost: roughly $400 to $900 for a mid-range vinyl or fiberglass unit, plus $100 to $200 in flashing, caulk, and incidental supplies.
- Licensed installation cost: typically $600 to $1,400 for the same unit installed, including the stucco touch-up and disposal.
- Warranty exposure DIY: full product cost out of pocket if the seal fails within the expected life of the unit.
- Warranty exposure licensed install: typically covered by the manufacturer’s warranty, plus Rowan’s 365-Day Done Right Promise on the installation work itself.
On a single window, the dollar gap between DIY and licensed is often a few hundred dollars. On a whole-house replacement of eight to twelve windows, the gap runs into the thousands, but so does the warranty exposure. A failed seal on a DIY-installed window out of warranty costs roughly the same as the licensed installation of that unit, so the warranty conversion is worth more than the DIY savings on the whole set.
Written-price discipline matters here. Rowan delivers a flat written price with a written scope and a written warranty before any work starts. Under Clause 1 of the Haven Standard, the price is written before anyone picks up a tool, and no change proceeds without a signed change order. If you have a competing written estimate, the Free Second Opinion offer lets us review it line by line at no charge, warranty terms included.
Doors: A Different Risk Profile
Doors carry different risk than windows, and the difference matters for the DIY decision.
Interior doors: A hollow-core or solid-core interior door in an existing frame is a genuinely easy DIY swap. Hang a new slab on the existing hinges, or replace the pre-hung unit into the same rough opening. Two to three hours, basic tools, low risk. The failure mode is cosmetic, a door that doesn’t sit flush or swing cleanly.
Exterior doors: Harder. An exterior door has to be plumb, level, and square, and it has to integrate with the housewrap flashing system the same way a window does. The threshold detail is the most common failure point. Water gets behind the threshold and into the subfloor, and the homeowner doesn’t know until the floor feels soft under the door. Exterior doors also have security requirements (strike plate, deadbolt backing) and code-required egress dimensions on some openings.
Entry doors: Frequently a permit-required item when the frame is being rebuilt or the rough opening changes. A like-for-like door slab swap into the existing frame is typically not permit-required, but a full pre-hung entry door replacement where the existing frame is being removed should be evaluated for permit need. Older Garden Grove homes often have door frames that have swelled or rotted at the threshold, so the “same size” simple swap turns out to require framing work.
One practical note on materials: door hardware brands like Sterling and Grohe come up in written scopes because the handle set and threshold details are part of the weather and function performance. When a door’s hard parts are specified to a known brand, the warranty story is cleaner and the replacement components are actually obtainable ten years down the road. That’s a detail the DIY homeowner rarely considers, and a written scope usually makes it explicit.
How Unpermitted Work Shows Up at Resale
The permit question isn’t about today. It’s about the inspector’s report four years from now when you’re selling.
The resale timeline in Garden Grove usually looks like this: the buyer’s home inspector walks the property and notes a window or door that doesn’t match the original permitted plans. The inspector’s report flags “possible unpermitted alteration, verify with seller.” The buyer’s agent asks for documentation. The seller can’t produce it because there wasn’t any. The negotiation starts.
In our experience with Garden Grove resales, an unpermitted structural alteration to a window or door opening typically costs $5,000 to $15,000 in negotiated reduction, or kills the deal if the buyer is uncomfortable. The cost includes legalization (pull permits, have the work inspected, sometimes demo and redo), but the negotiated number usually runs higher than the cost of legalization because the buyer discounts for risk. The seller pays twice: once for the original work and once for the discount.
The specific items that come up most often in Garden Grove resale reports:
- A window that was widened without a permit, evident when the exterior stucco lines don’t align.
- A sliding door replaced with a French door without permit, flagged because the header was modified.
- An entry door frame rebuilt after rot, with no permit record for the framing work.
- Windows installed by a prior owner with no permit trail, where the current owner has to either legalize or disclose.
The way to avoid this is boring: know which category your project lands in, pull the permit if it’s required, and have the inspection signed off. A written record that the work was inspected and passed is worth more at resale than the work itself looks.
A Decision Framework for Garden Grove Homeowners
Here’s the short version, in the order we’d walk through it.
- Confirm the rough opening matches the new unit’s spec exactly. Same width, same height, same frame depth, same flange arrangement. If any of those has changed, you’re in permit territory.
- Confirm the cladding plane and performance class match. If the new unit needs to nose out or sit deeper in the wall, permit. If the new unit’s performance grade is higher than the old one and requires a different install method, permit.
- Confirm your wall system. A stucco wall changes the risk profile of the flashing detail, and a poorly integrated stucco patch is the single most common failure we see. A wood-sided wall or a newer fiber cement wall is more forgiving of a competent DIY install.
- Check the manufacturer’s warranty terms. If the warranty requires a licensed installer, factor that into the math as an asset you’d be giving up.
- Do the resale math. If the work touches structure, the eventual resale discount can exceed the installation cost of doing it licensed today.
The category you’re in drives the answer. Category One like-for-like replacements in wood-sided or fiber cement walls are reasonable DIY territory with the caveats above. Category Two work, permits required but homeowner eligible, can be done DIY by a confident homeowner who’s pulled permits before, but the stucco integration and the warranty consequence turn most homeowners toward a licensed installation. Category Three work requires a licensed contractor. That’s not a sales pitch; that’s the code.
Common Mistakes to Avoid
- Assuming a “same size” window ordered from a manufacturer will fit the existing opening. Garden Grove’s mid-century housing stock is often framed to the original aluminum window’s dimensions, and the modern replacement’s flange arrangement pushes it into permit territory. Measure the rough opening and read the new unit’s spec sheet before ordering.
- Skipping the flashing-tape transition detail. Seating the window level and caulking the outside edge is not the same as a proper weather barrier transition. This is the failure we’re called in to fix most often, and it doesn’t show up until year two or three.
- Attempting the stucco patch without a stucco specialist. A three-coat stucco patch that looks right and fails at the bond line is worse than no patch. The finish coat cracks in a season, water gets in, and the damage is interior by the time you see it.
- Ignoring the warranty conversion. A Milgard window with a lifetime warranty installed DIY can lose the warranty, and the value of that warranty often exceeds the DIY savings on a multi-window project.
- Rebuilding a door frame without pulling a permit. Rot at the threshold is common on older Garden Grove homes, and the rebuild is framing work that typically requires a permit. Skipping it creates the exact resale disclosure problem that costs $5,000 to $15,000.
- Working alone on a window install. Windows are awkward and heavy. The injury risk on an upper-floor install without a helper is real, and the replacement cost of a dropped unit is a hard cost most DIY budgets don’t include.
- Burying a permit question instead of resolving it. If prior owner work is unpermitted, the disclosure obligation doesn’t go away. Legalizing the work before resale is usually cheaper than negotiating a discount.
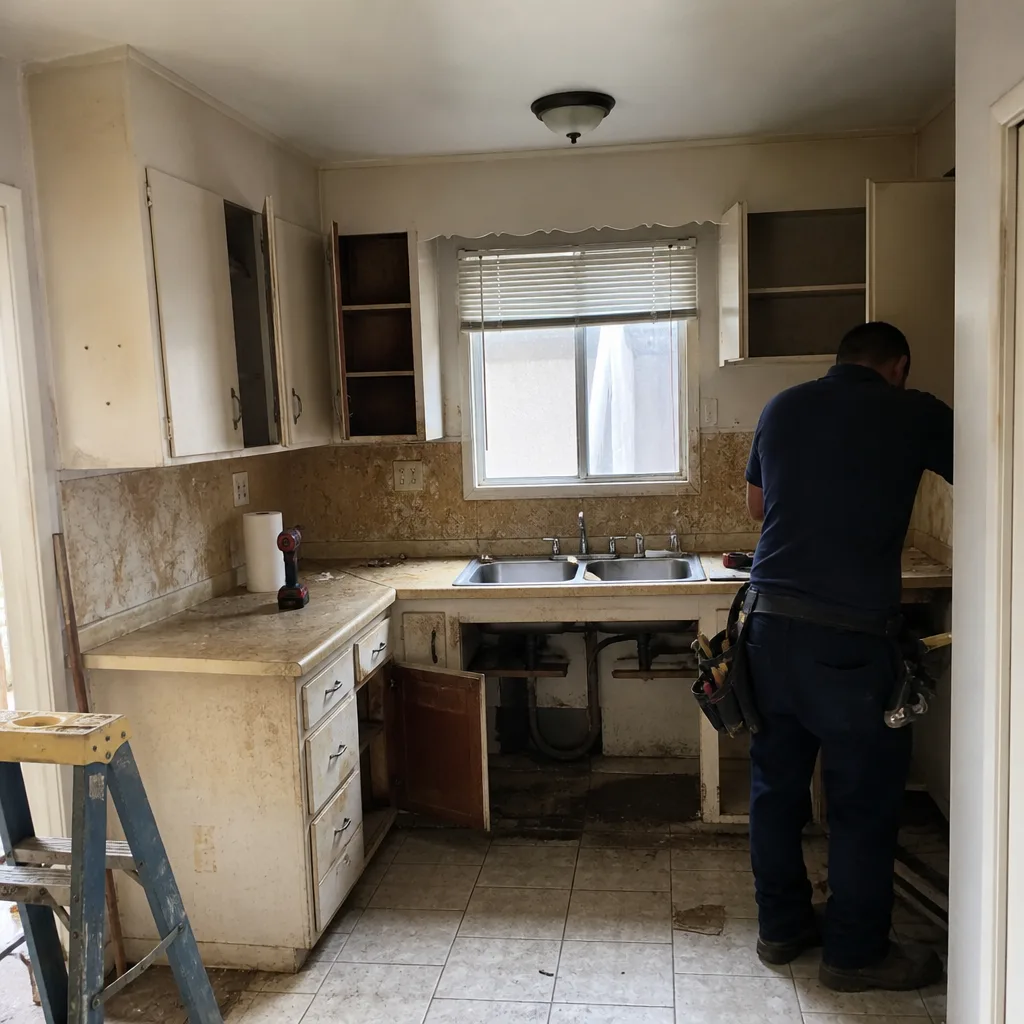
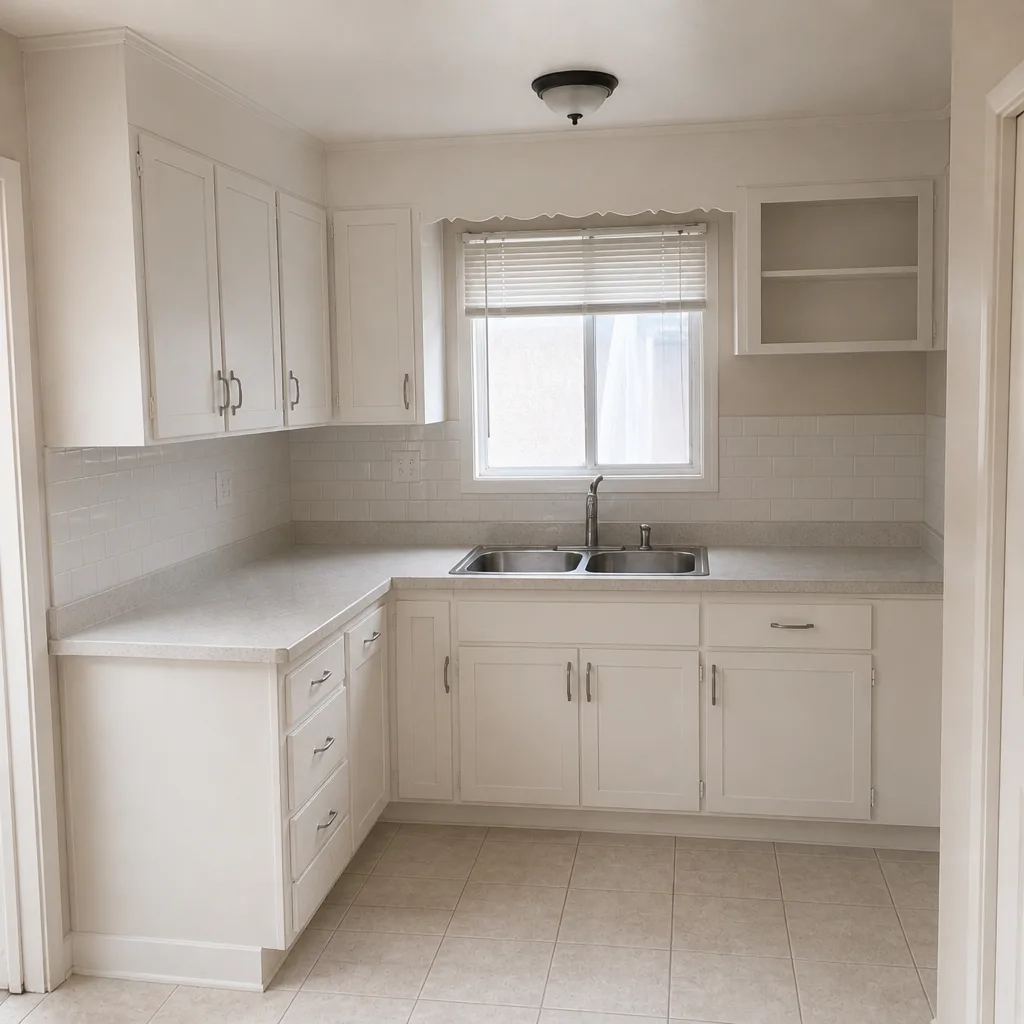
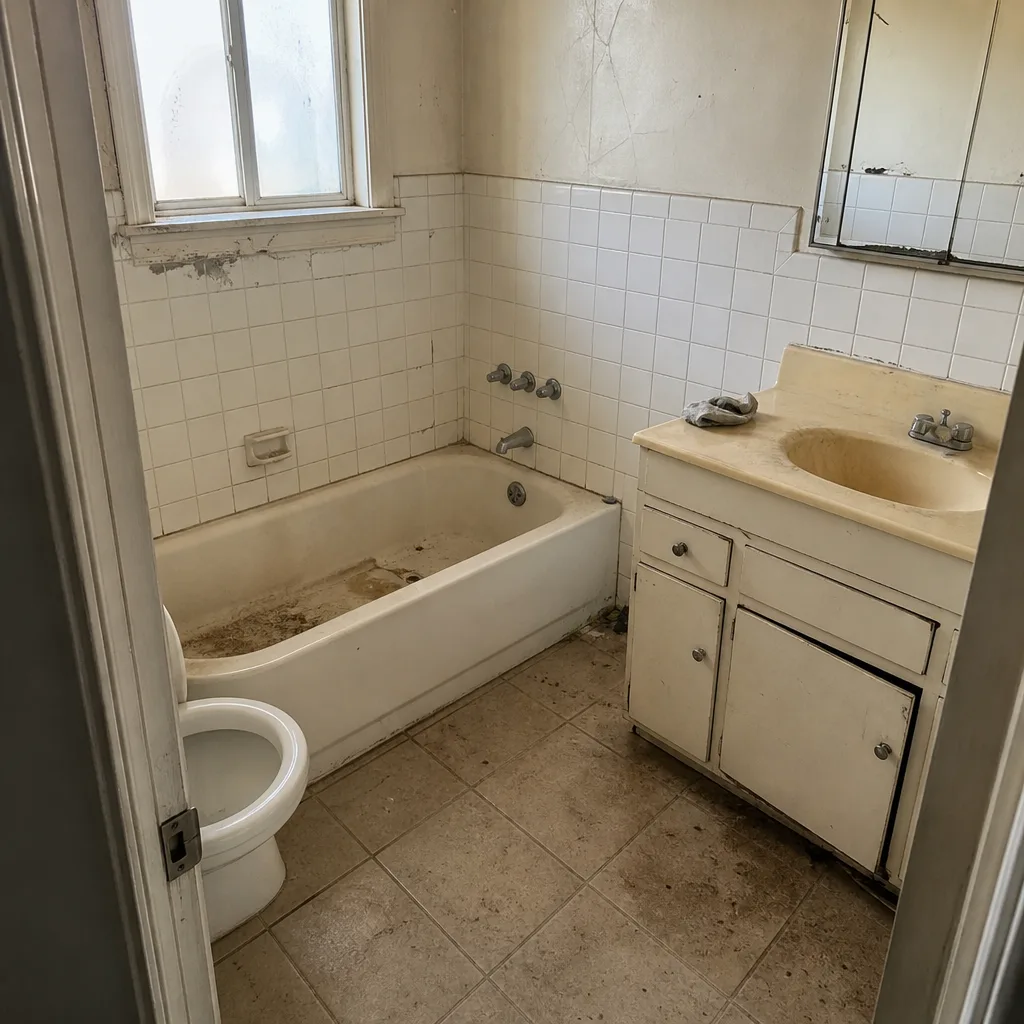
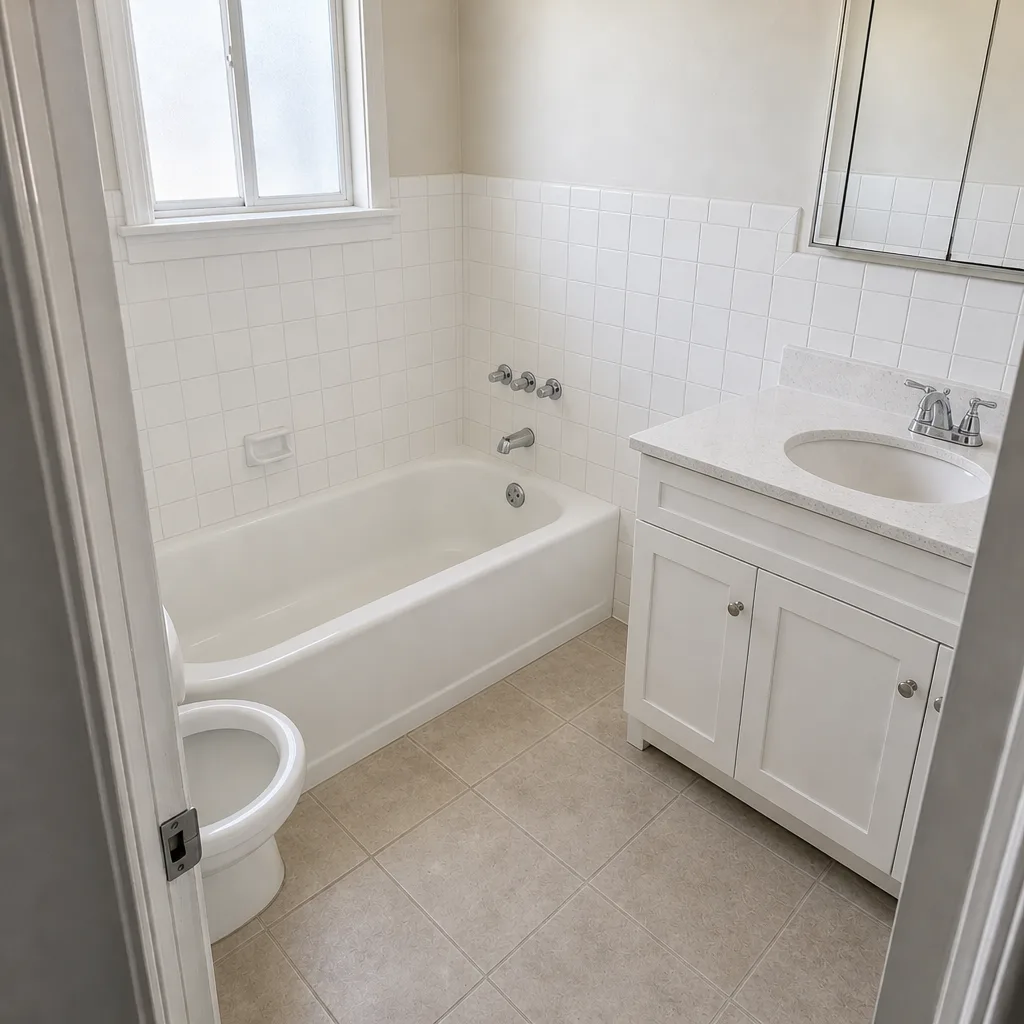
See the difference
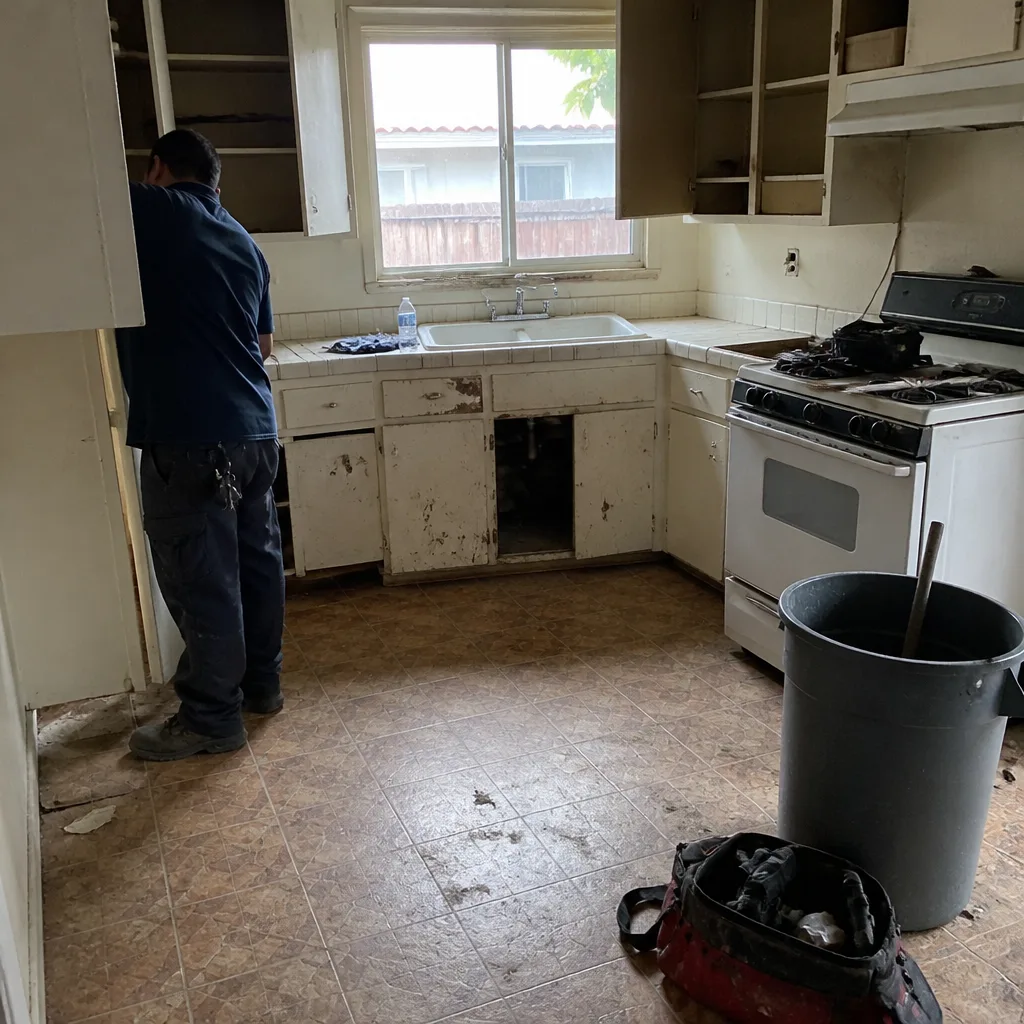 Before
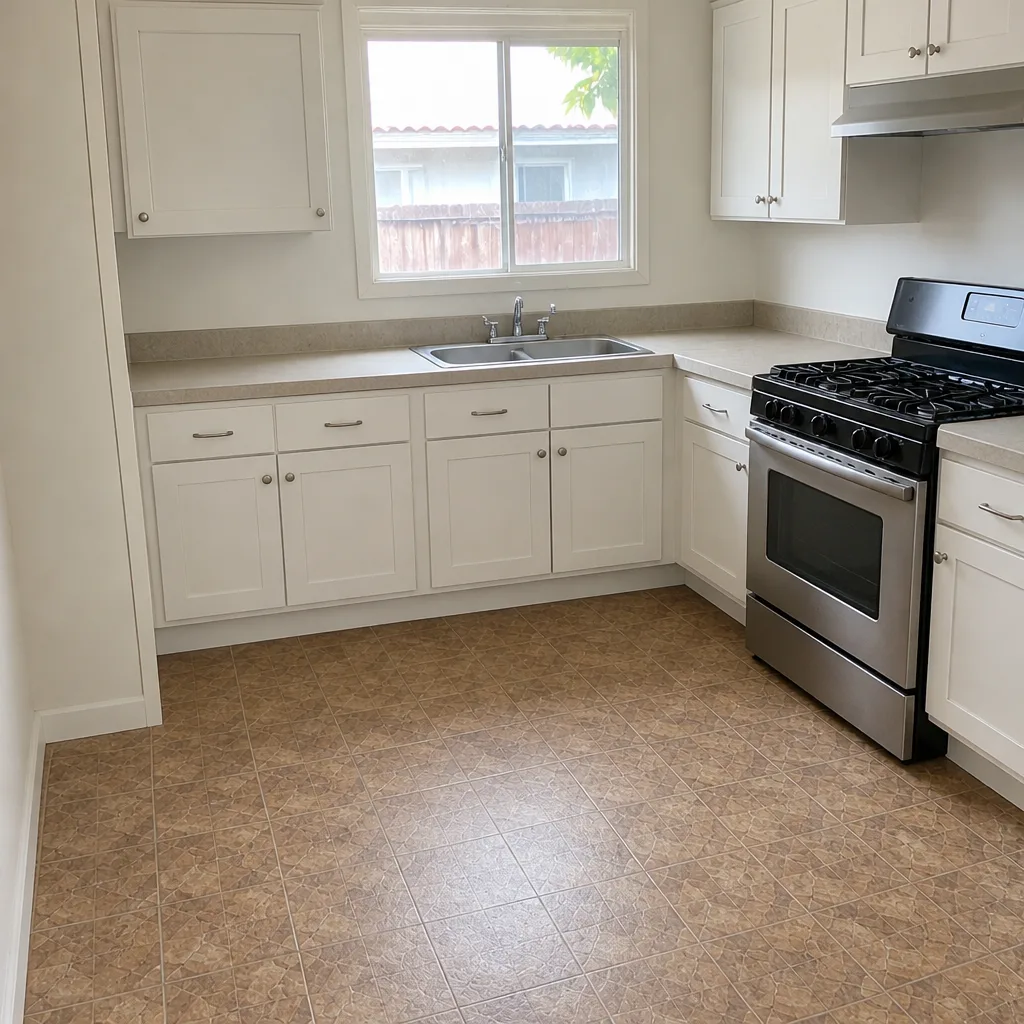 After
 Before
 After
 Before
 After
When to Call a Professional
Call a professional when the rough opening changes, when the frame is being rebuilt, when the work touches a stucco wall you can’t afford to have fail, or when the manufacturer’s warranty requires a licensed installer. Those are the four clear triggers. If any of them applies, the DIY math is already upside down because the warranty, permit, or water intrusion risk carries more cost than the labor savings.
Our technicians have up to 19 years of experience, and every crew is background-checked and arrives to the site uniformed, with a documented photo record of what was found and what was done as standard. If you have a written estimate from another contractor and want a second read on it, the Free Second Opinion is line by line and free. Rowan Construction Group Garden Grove offers free estimates in Garden Grove. Call (888) 303-8980 to schedule yours.
Frequently Asked Questions
If the replacement is like-for-like, same rough opening, same cladding plane, same performance class, a permit is typically not required. Any change to the rough opening’s size, any structural alteration to the frame, or any rework of the surrounding stucco that touches the weather barrier usually requires a permit. Call (888) 303-8980 for a free walk-through if you’re not sure which category your project falls into.
In most cases, yes. Most window manufacturers require installation by a licensed or certified contractor as a condition of the product warranty, and DIY installation commonly voids the warranty entirely. That changes the value calculation for the project, because a warrantied window and an unwarrantied window of the same model have different long-term costs.
The stucco integration is the biggest risk, not the window installation itself. Most Garden Grove homes have three-coat stucco over metal lath, and a stucco patch that looks visually correct often fails at the bond line within one to two seasons. The water intrusion path is slow enough that the interior damage doesn’t show up for two to three years. Call (888) 303-8980 if you’re considering a stucco-wall replacement so we can look at the existing flashing detail before you order a unit.
A single-window like-for-like replacement is typically a one-day job for a professional crew, including stucco touch-up and disposal. A whole-house replacement of eight to twelve windows is usually two to four days depending on the stucco scope and how many windows require framing adjustments. The written scope you receive before work starts includes the schedule and the milestone sequence.
In our experience it typically knocks $5,000 to $15,000 off a Garden Grove resale offer, or kills the deal when the buyer’s inspector flags the alteration with no permit trail. The negotiated discount usually runs higher than the cost of legalizing the work, because the buyer prices in risk on top of the legalization cost.
Interior door slab swaps on existing hinges are reasonable DIY projects. Exterior doors are harder because the threshold has to integrate with the housewrap flashing, and entry door replacements where the frame is being rebuilt often require a permit. If the existing frame has any rot at the threshold, that’s usually the moment to call a professional, because the rebuild is framing work. Call (888) 303-8980 for a free estimate before you order the door.
The Bottom Line
The DIY window and door question comes down to a specific test: does the project stay within the existing rough opening, or does it change it? Like-for-like replacements in the same opening, same cladding plane, same performance class, are reasonable DIY territory with the flashing and stucco caveats above. Structural changes, widened openings, rebuilt frames, and any work that integrates with stucco without a stucco specialist involved are licensed-contractor territory, and the warranty consequences of doing them DIY usually eliminate the labor savings. Garden Grove homes built with three-coat stucco are especially unforgiving of a competent-looking installation that fails at the flashing detail two years later. Confirm the category, get the permit if it applies, check the warranty terms, and if any part of the answer points to a professional, that’s the cheaper path over the life of the work.
If you’d like a written price before you decide, Rowan Construction Group Garden Grove offers free estimates and written line-item quotes on every window and door scope. Call (888) 303-8980 to schedule your free estimate, and remember that a competing written estimate gets a free line-by-line second read. Call (888) 303-8980 today.
Written by the team at Rowan Construction Group Garden Grove.